Information in this article applies to Safetica ONE 10 or older.
In this article, you will find an example of bulk installation of Downloader Agents via Group Policy in Windows Server 2016. Individual steps may vary slightly depending on your version of the server system:
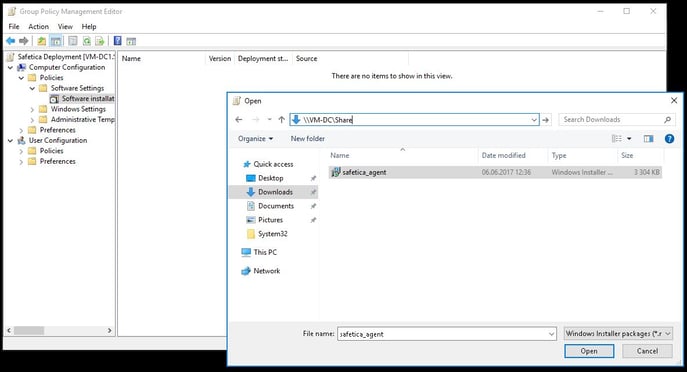
1. Extract the Downloader Agent installation package from Safetica Universal Installer.
2. Save the Downloader Agent to a network share and set access rights (Read & execute will be sufficient) to this folder for the desired group (probably Domain Users and Domain Computers) - in case of any access issues please set the access rights to Full Control for Everyone.
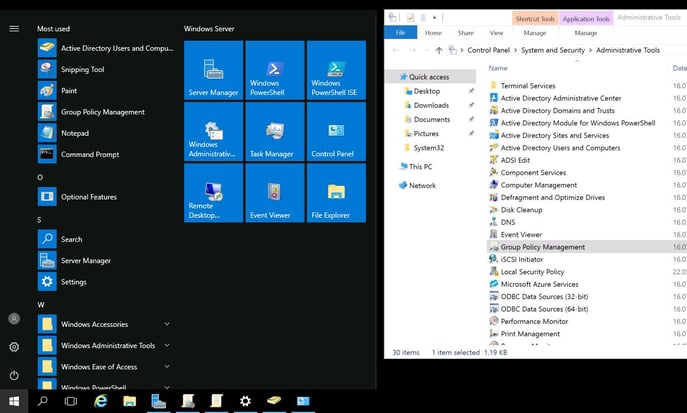
3. Go to Administrative Tools > Group Policy Management (Start > type gpmc.msc).
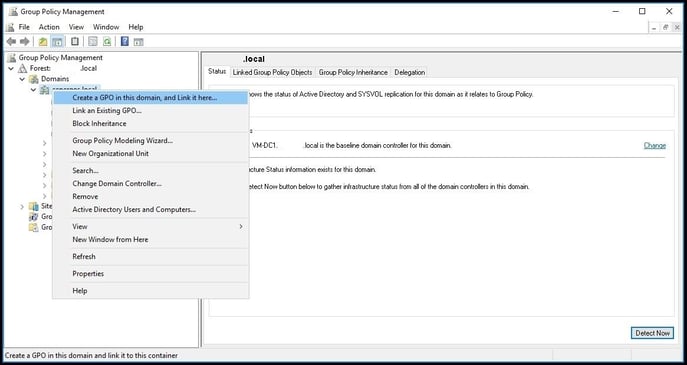
4. Right-click the organizational unit to which you want to deploy the Downloader Agent and select Create a GPO in this domain, and link it here...
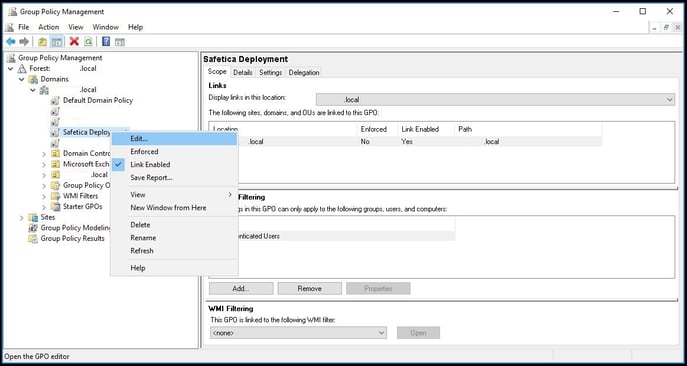
5. Name the new object (e.g. Safetica Deployment).
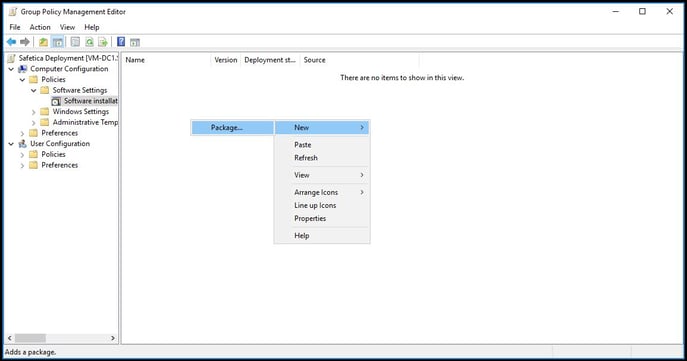
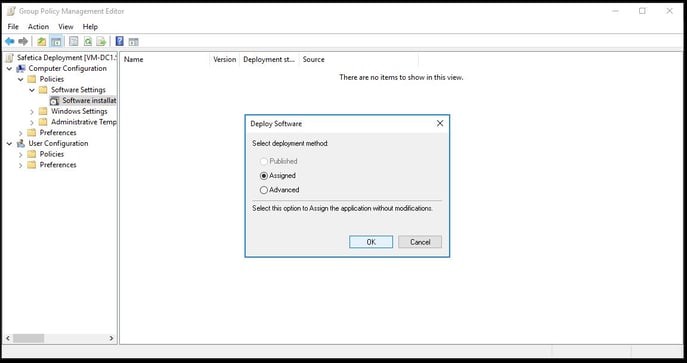
6. Right-click your newly created Group Policy and select Edit.

12. After rebooting the endpoints for which the policy was created, the Downloader Agent will install automatically.
13. To enforce policy updates, enter the gpupdate /force command on endpoints.