Information in this article applies to Safetica 10 or older.
All information in the Security Audit comes from user activity logged by Safetica, and there are settings in Safetica 10 that can affect the details available in the Security Audit.
There are 2 ways how to configure Safetica to get the best Security Audit results:
- Automatic configuration - when you launch Safetica Management Console for the first time, make sure to complete all steps of the initial wizard. The wizard helps to configure every feature used to collect all relevant data for the Security Audit.
- Manual configuration - in case you skipped some or all steps of the initial wizard, or you are already using Safetica and want to configure the features manually.
This article describes all individual settings that are related to Security Audit in Safetica 10. Description of the Automatic configuration is included in the e-learning course linked above.
1) Company name
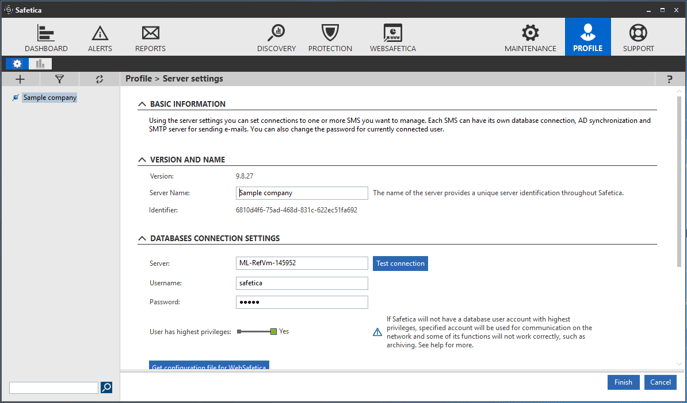
The company name is shown on the first page of each Security Audit. If you want to change or set the company name, continue as follow:
- Launch Safetica Management Console.
- Go to Profile.
- In the Connection section, next to your Server name click Settings.
- Change the Server Name that is the company name.
2) Sensitive data definition
In order to monitor relevant file operations and report possible data leaks, you will want to configure which data is sensitive for your company. To define sensitive data please follow these steps:
- Open Safetica Management Console.
- Go to Protection module.
- Select Data categories.
- Hit New data category.
- Name your data category e.g. Sensitive data.
- Confirm OK.
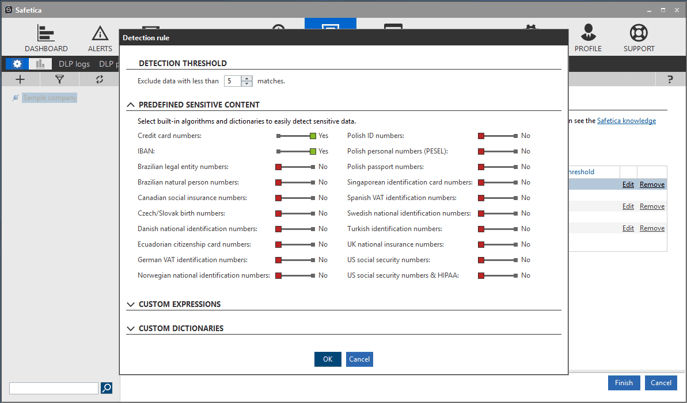
- Now select your data category and click Configure data category. You will see the dialog shown below.
- Select as many sensitive content definitions as needed.
- You can also include custom expressions in the Custom expressions section below the Predefined sensitive content dictionaries.
3) DLP policies
In the previous step, we only defined what is the sensitive data. However, we are not logging any file activities yet. To do that, we have to define a DLP policy which logs the operations for the Security Audit. Watch the following video which describes how to configure 2 DLP policies to get the best results from file activities.
You can modify the policies for your own scenarios.
4) Websites and Application categories
As a final step, make sure that applications and websites used in your company are assigned to the right category. Watch the following video which explains how to effectively change categories for unknown websites and applications.
You can also find more details in this article: How to categorize applications and websites
And that's it! If you followed all steps in this article, Safetica 10 will from now on collect all data that is relevant for Security Audit. Please keep in mind that it may take a few days for the data to be relevant and to be accurately presented in the Security Audit document.