Information in this article applies to Safetica 10 or older.
You can learn more about DLP policies in general here.
To create a DLP policy:
Open Safetica Management Console and go to Protection > DLP policies.
Click the New policy button. Policy creation consists of 3 steps:
1. Policy configuration
Enter policy name, description, and choose its type (General, Data, Application category).
For application category policies, choose the desired application category by clicking the Select category button.
For data policies, choose the desired data categories by clicking the Add category button.
You can include as many data categories of the Sensitive content and Existing classification (metadata) types as you want. However, you can only include one data category of the Context type.
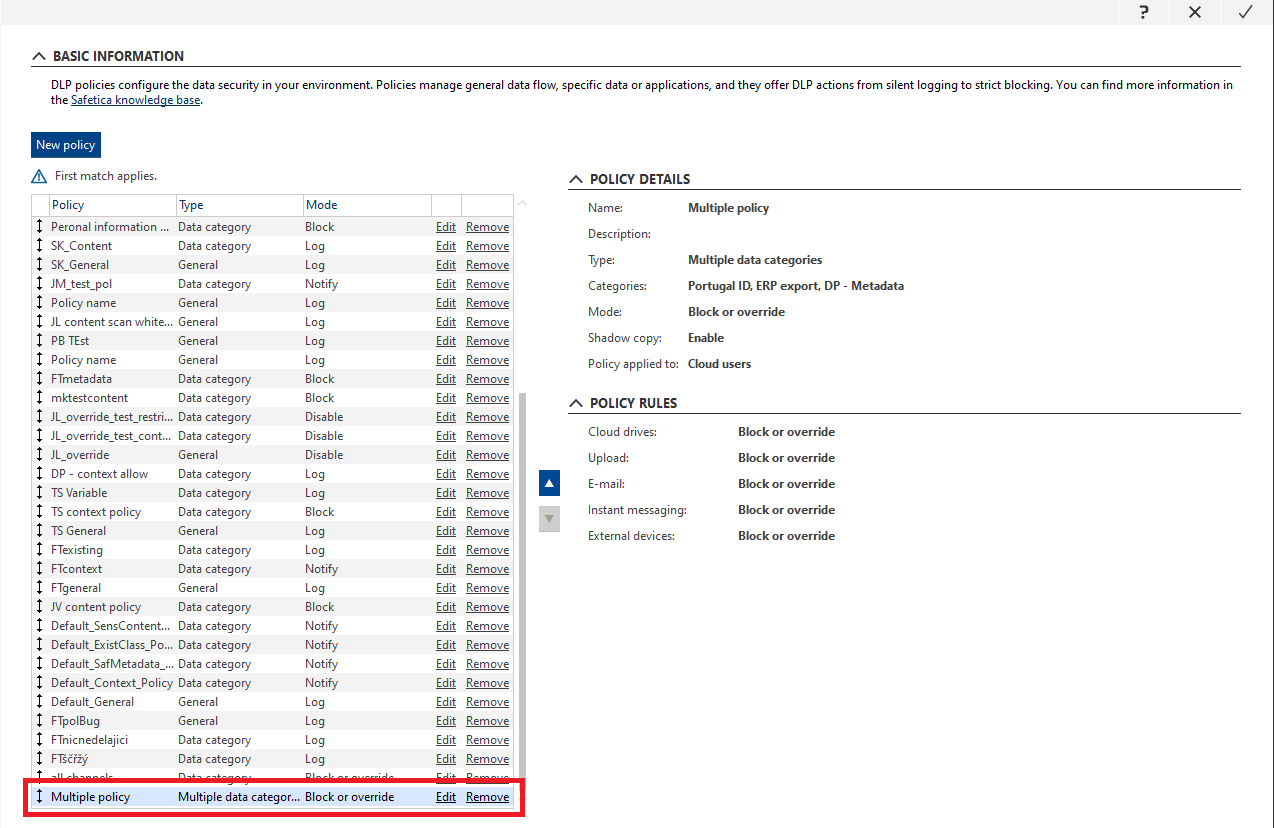
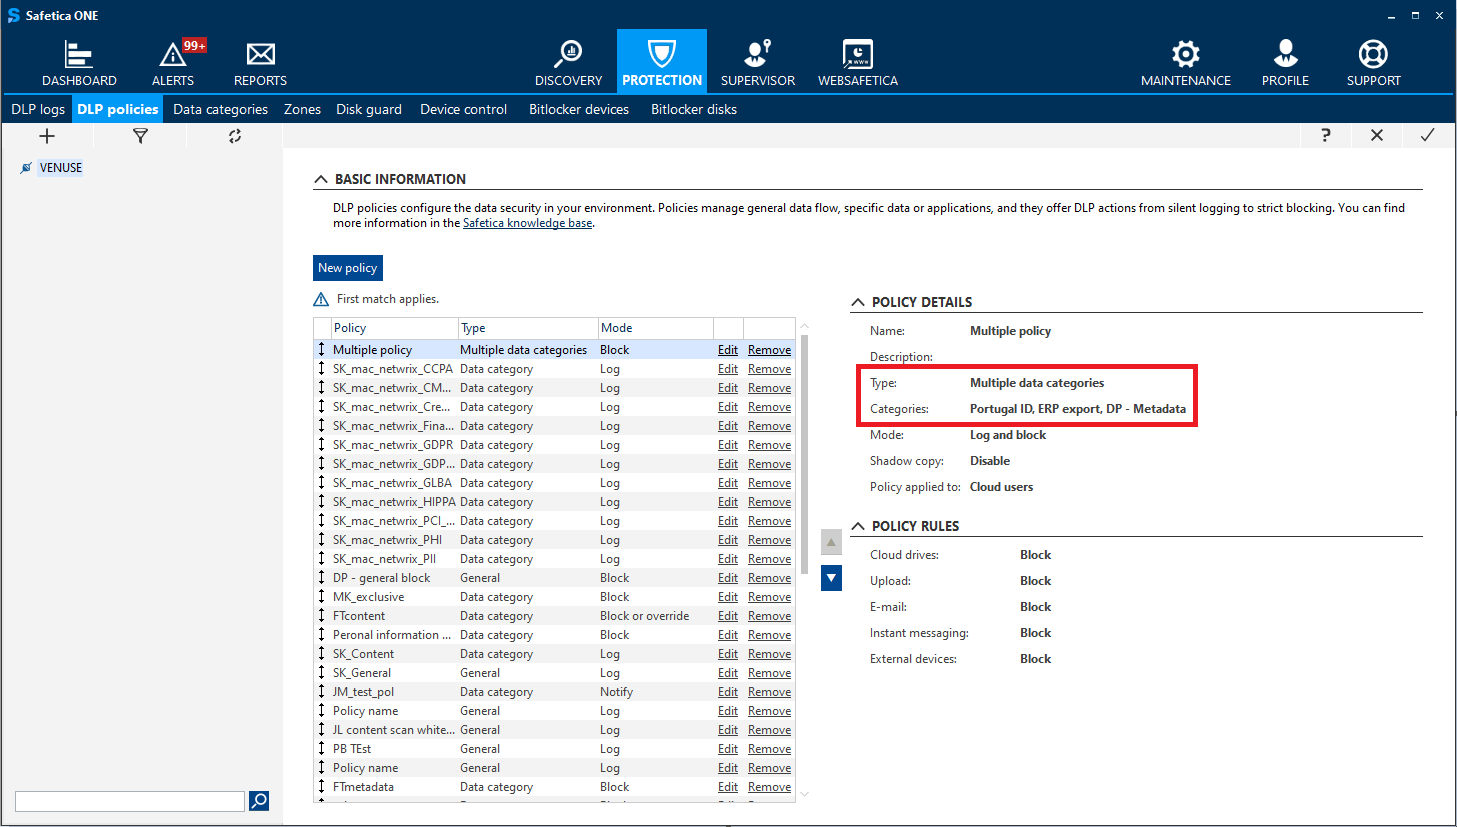
Policies combining several types of data categories are labeled as Multiple data categories in the list of DLP policies. If you click such a policy, you will see the specific data categories it includes on the right under Policy details > Categories.
You can learn more about data categories in general here.
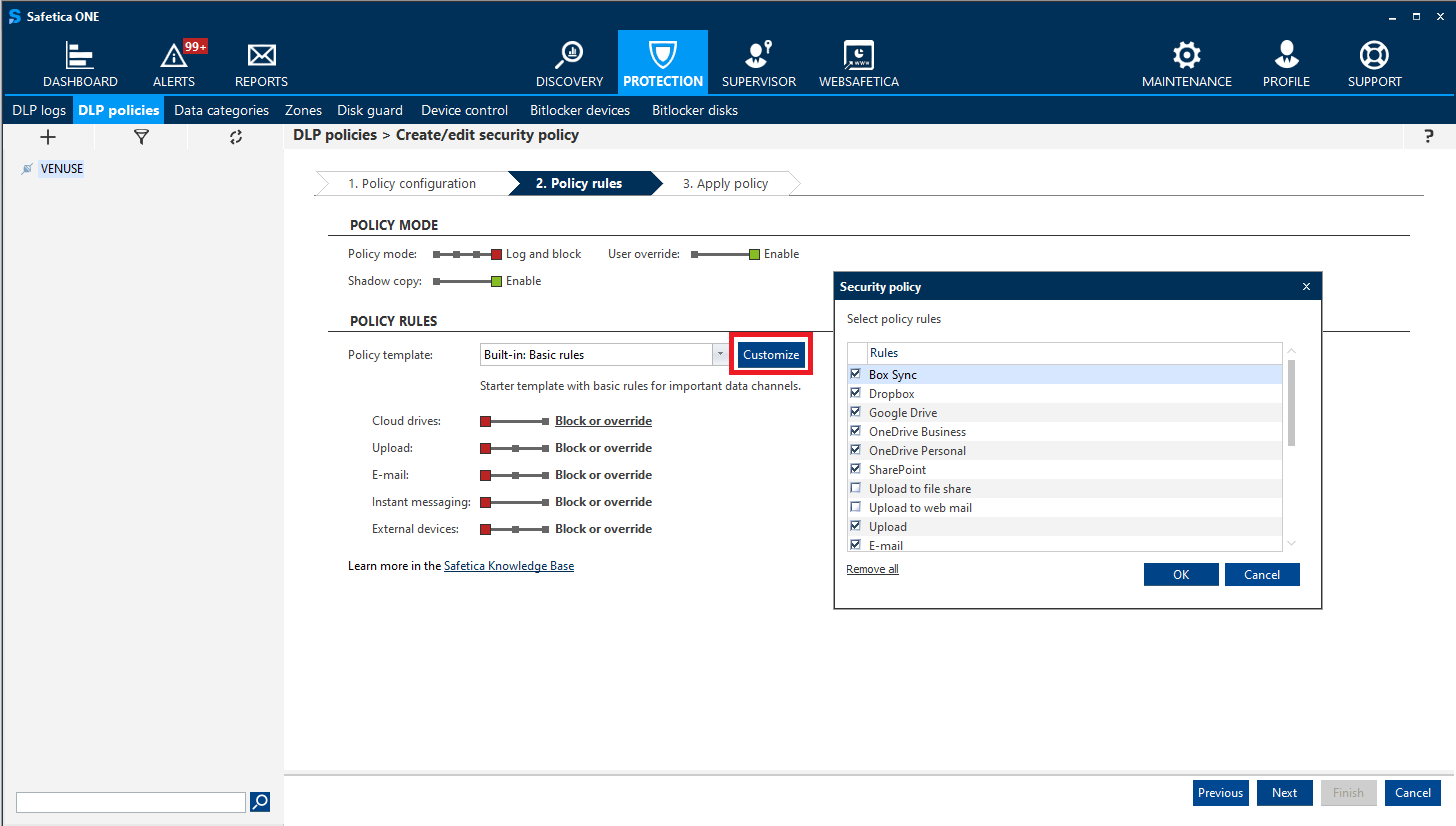
2. Policy rules
Select the policy mode and policy rules.
To view all available rules, click Customize. Check the rules you want to set and they will be placed into the list.
You can also use the Policy template drop-down to create a new DLP policy. These templates are predefined groups of rules. Every new policy creates a new template which you can use later when creating other DLP policies.
You can learn more about the Shadow Copy feature here.
You can learn more about the Override feature, which is available for the Log and block mode, here.
3. Policy application
Click Add users. From the user tree, choose a user or group to which you wish to apply the given DLP policy.
After you click Finish, you will see the policy at the very bottom of the policy list.
Since policies are evaluated from the top to the bottom of the list, you should move it to the appropriate position.
Click  to confirm.