Information in this article applies to Safetica ONE 10 or older.
You can learn more about data categories in general here.
You can use context classification for data that cannot be classified by text content.
In this article, you will learn to:
Create a context data category
- Open Safetica Management Console and go to the Protection > Data categories section.
- Click New data category, select Context rules (expert) with the slider, and enter the name and description for the category.
-
In the Advanced section, you can:
- Adjust Clipboard behavior:
- Moderate – the clipboard is restricted only if it’s used to transmit potentially sensitive content.
- Strict – the clipboard is always restricted based on DLP policies.
The Strict mode may result in unexpected propagation of data categories and limitations. Learn more here.
- If you have persistent metadata enabled, you can use the category in user-based classification.
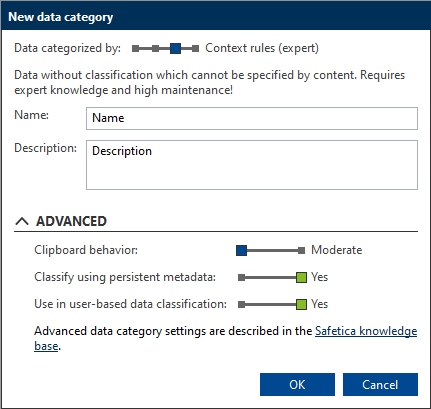 4. Click OK.
5. Click  in the upper right corner to save the category.
Configure a context data category
Each file can be classified with only one context data category.
1. Select the newly created data category in the list on the left.
2. On the right, you will see its name and description as well as further management options. Click Configure data category.
3. Here you can find 3 sections:
- Application rules allow you to determine which applications or application categories will classify their output files as sensitive. For example, you can determine that all applications in the CAD software category will classify files with the relevant data category so that relevant restrictions can subsequently be applied.
- Web rules allow you to classify files downloaded from specified domains and subdomains or domains included in selected web categories. Web rules can be used, for example, to classify all files downloaded from the corporate CRM system.
- Path rules allow you to classify files stored in specified destinations. Files stored in these folders that come from computers not protected by Safetica are also classified.
On-the-fly tagging - All files created or copied into the folder defined in the path rule will receive classification as well.
After selecting a specific folder, all its contents and sub-folders will be classified automatically.
5. You will be prompted to choose:
- the name of the rule
- the rule mode:
-
- Testing mode does not apply classification right away and serves more like a discovery task.
- Tagging mode ensures that classification is applied to discovered files, so that there may be controlled by DLP policies.
- Application rules – single application or application category, and extensions of files outputted from the applications which you want to classify.
- File name - files with names containing specified keywords or regular expressions will be classified.
- Tagging action:
- Merge tags by priority - classifies files with the data category that has higher priority. If a file is already classified, the priorities of the current and new data categories are compared and the file is classified with the higher-priority category.
- Replace tag - replaces existing classification with the selected data category. The priority of the data categories is ignored.
- Include system - activate classification of system files. In Integration settings, custom paths can be added to system files.
Use this option carefully and only in justified cases
- Web rules – web addresses and extensions of the downloaded files
-
- Tagging scope:
- All web content – all content downloaded from the internet will be classified, including content copied via clipboard.
- Downloaded and opened files only – only files downloaded from the internet and opened files will be classified.
- Tagging scope:
- Path rules – the users/endpoints on which the file tagging rule should be run, path to a desired folder, and the extension of stored files
Files to which all parts of the rule apply will be classified. Not all parts of the rule need to be filled in. It is sufficient to complete at least one part. If a part is not completed, it will apply to all parts.
- .
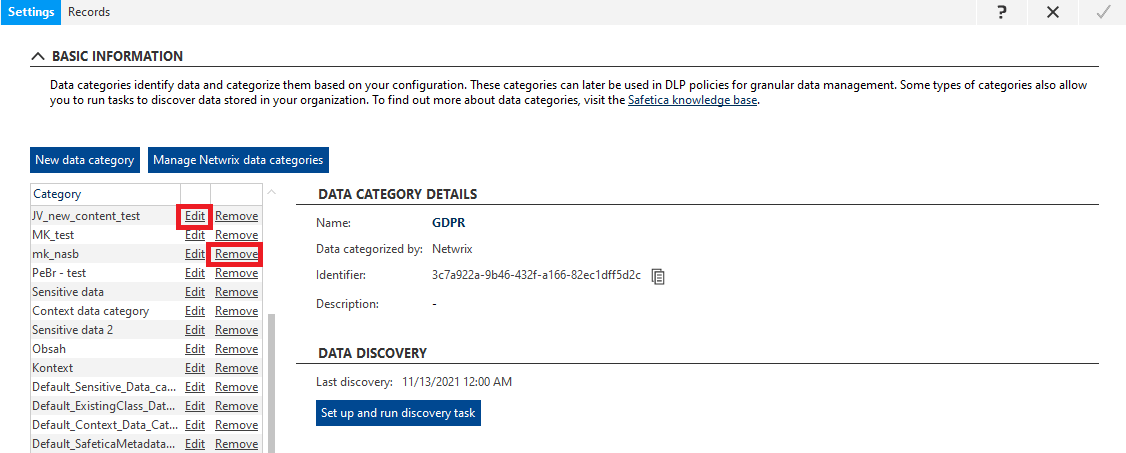
How to edit or remove a data category
You can remove an existing data category or edit its name and description by clicking the Edit or Remove links next to the relevant data category in the list on the left.