Information in this article applies to Safetica ONE 10 or older.
.NET requirements (Failed installations/updates due to missing .NET)
.NET requirements progressively vary as the product development builds up. Safetica Agent will handle the .NET installation itself unless there is any obstacle or the OS type is a server. In that case, such an operation has to be performed by administrators on the problematic machine manually.
To avoid installing an insufficient version, reach out to the destination folder of your "Safetica Management Service" on the Safetica server (default: C:\Program Files\Safetica Management Service\) and deploy installers with prefix "dotnet" according to your OS platform.
- Make sure your Safetica Agent&Client updates are set to the same version as your Safetica server version - delete any obsolete tasks set to the previous version
- With Safetica 10.3 - both versions 4.7.2 and 6+ must be installed
- Once the .NET installation is done, reboot the OS so the changes are recognized
- Please take into account that these .NET installers will most likely change during the next product update and thus a new manual deployment will be necessary
Introduction
From time to time, there might be rare occurrences of Safetica Client not responding after installation or stopping to respond after an update. You can see more info about the error in Safetica Management Console > Maintenance > Endpoint overview in the Installation state (attempts) column.
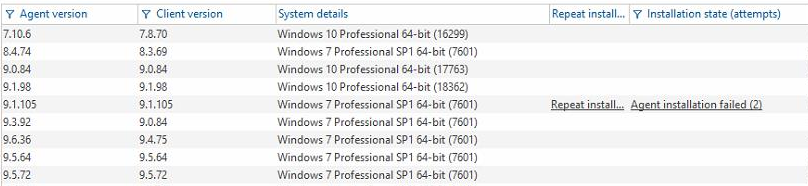
If you see such an error in Endpoint overview, if the endpoint is highlighted with  icon in the user tree, or if Safetica Client does not send logs, even though it should (i.e. the endpoint with Safetica installed is running) try performing the following steps to solve the issue:
- Restart your computer and the whole installation/update process.
- Restart Safetica Client (if already installed and you are updating it).
- Reinstall Safetica Client from Safetica Management Console.
- Check the installation log.
- Make sure that the endpoint has the latest Windows updates installed.
- Verify that the endpoint has the latest VCredist installed (can be found here).
- Safetica Client installation fails due to “failed installation of VCredist”.
- Export Safetica Client package, stop the client, and then try to update it manually.
- When updating from version 8.1. and older, uninstall the old Safetica Client and installing its newest version as described in Reinstall Safetica Client from Safetica Management Console.
Restart Safetica Client (if already installed and you are updating it)
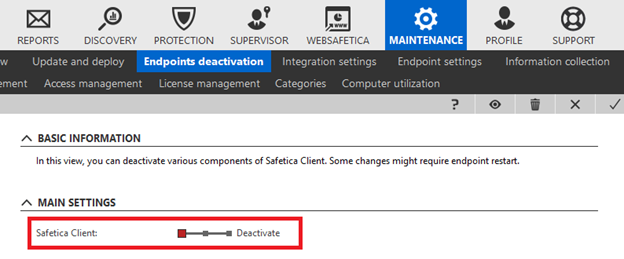
- Go to Maintenance > Endpoint deactivation > Main settings.
- Set the Safetica Client slider to Deactivate.
- Restart your computer and set the Safetica Client slider to Activate.
Reinstall Safetica Client from Safetica Management Console
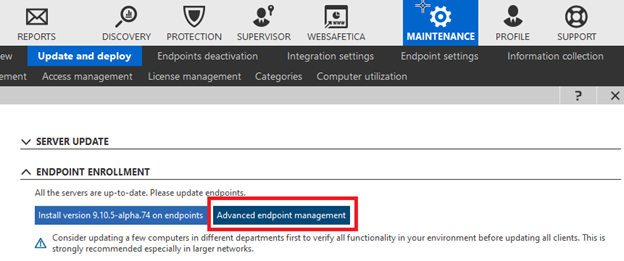
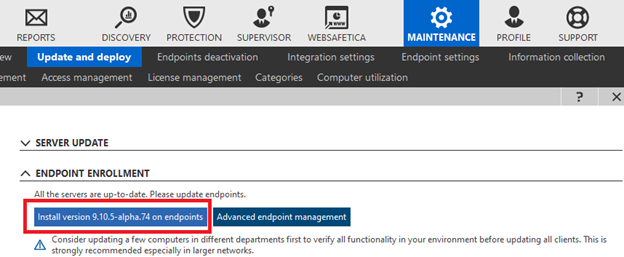
1. Initiate client uninstallation. In Maintenance > Update and Deploy > Endpoint Enrollment click Advanced Endpoint Management.
2. Click the Uninstall button and set up Safetica Client uninstallation for the appropriate endpoint.
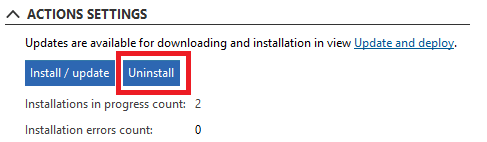
3. Restart the endpoint.
4. Install the newest Safetica Client version. In Maintenance > Update and Deploy > Endpoint Enrollment, click Install version XX on endpoints.
5. Restart the endpoint again to finish the whole process.
Check the installation log
- Go to Maintenance > Endpoint overview.
- The installation log can be found in the Records table in the Installation state (attempts) column.
Safetica Client installation fails due to “failed installation of VCredist”
- Use the Microsoft Program Install and Uninstall troubleshooter to get rid of VCredist 2015 - 2019.
- Install the newest VCredist version from here.
Export Safetica Client package, stop the client, and then try to update it manually
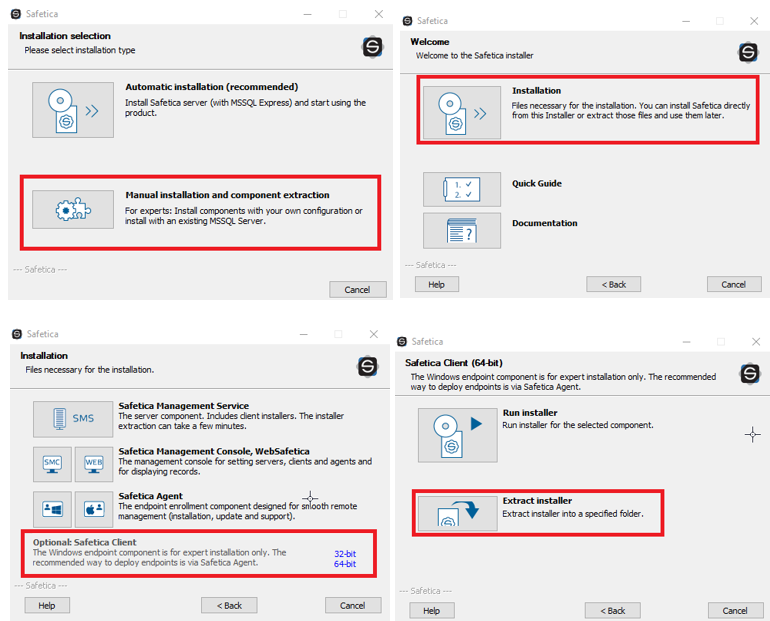
- Run Safetica Universal Installer.
- Choose Manual installation and component extraction > Installation > Safetica Client (choose between 32-bit and 64-bit) > Extract installer.
3. Stop Safetica Client in Maintenance > Endpoint deactivation > Main settings. Set the Safetica Client slider to Deactivate.
4. Run the extracted Safetica Client installer on the appropriate endpoint.
5. Restart the endpoint.
6. Start Safetica Client in Maintenance > Endpoint deactivation > Main settings. Set the Safetica Client slider to Activate.