✍️You can learn more about SharePoint protection here.
In this article, you will learn about:
- How to activate SharePoint protection in Safetica console
- How to configure SharePoint protection in Microsoft Purview
- How to access records related to Microsoft 365 file activity
- How to deactivate SharePoint protection
- Troubleshooting deactivation of SharePoint protection
How to activate SharePoint protection in Safetica console
✍️Before you can activate SharePoint protection, you must add your Microsoft 365 tenant to Safetica.
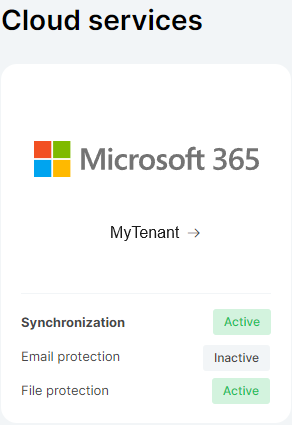
1. In Safetica console, go to Cloud services, and click your M365 tenant.
2. Click the Activate SharePoint protection button.
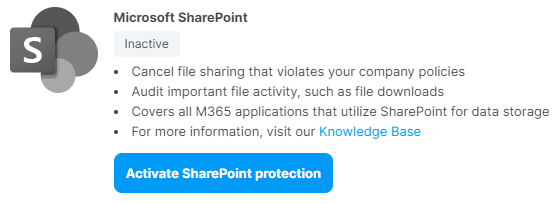
3. Read the displayed steps you must perform in the Microsoft Purview to enable Safetica to audit and protect your valuable company data.
4. Check the box and click Finish. Then proceed to Microsoft Purview.
❗Completing the configuration in Microsoft Purview is a crucial prerequisite for the correct operation of this feature.
How to configure SharePoint protection in Microsoft Purview
-
Access Microsoft Purview using a Microsoft account with Global Admin role.
-
Click Solutions on the left and select Audit.
- Click the thin wide button Start recording user and admin activity and wait for it to complete. If you can't see this button, it means the auditing feature is already turned on. In such a case, you can leave the portal.
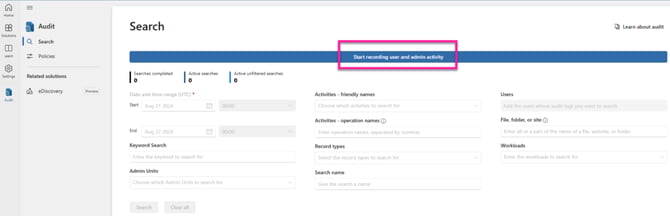
- After this step, the file audit of your Microsoft 365 data (i.e. files on OneDrive for Business, SharePoint, and Teams) will be activated.

How to configure policies for Microsoft 365 file sharing
-
After you finish the activation in Microsoft Purview, policies configured for the M365 file sharing destination type will start applying to file-sharing operations performed by users in your Microsoft 365 tenant.
How to access records related to Microsoft 365 file activity
- After you finish activation, you will find records related to SharePoint, OneDrive for Business, and Teams file activity in the Data section of Safetica console.
❗It might take up to 48 hours to see the records of Microsoft 365 file activity.
- To only see records from Microsoft 365, set the Application filter to SharePoint Online and Microsoft Teams.
How to deactivate SharePoint protection
To deactivate SharePoint protection:
- Open Safetica console, go to Cloud services > your M365 tenant, and click Deactivate SharePoint protection.

- Click Deactivate.

Troubleshooting deactivation of SharePoint protection
Issue: Insufficient permissions for deactivation
When attempting to deactivate SharePoint protection in Safetica console, you may encounter the following error message: Safetica doesn't have the necessary permissions to deactivate SharePoint protection on your tenant.

This error typically occurs if the Safetica CASB - o365app- prod-001 app is deleted or its ActivityFeed.Read permission is revoked in Microsoft Purview before deactivating SharePoint protection in Safetica console.
Solution: Restore permissions to Safetica
To resolve this issue, you need to re-grant the required permissions to Safetica. Afterward, you will be able to proceed with deactivation.
- Click the Grant permissions button.
- Sign in using your tenant administrator account.
- Accept the requested permissions for Safetica.
- Once permissions are granted, retry the deactivation process.
Alternative: Manually grant permissions (not recommended)
If you are unable or unwilling to grant the full set of required permissions to Safetica, you can configure them manually as follows:
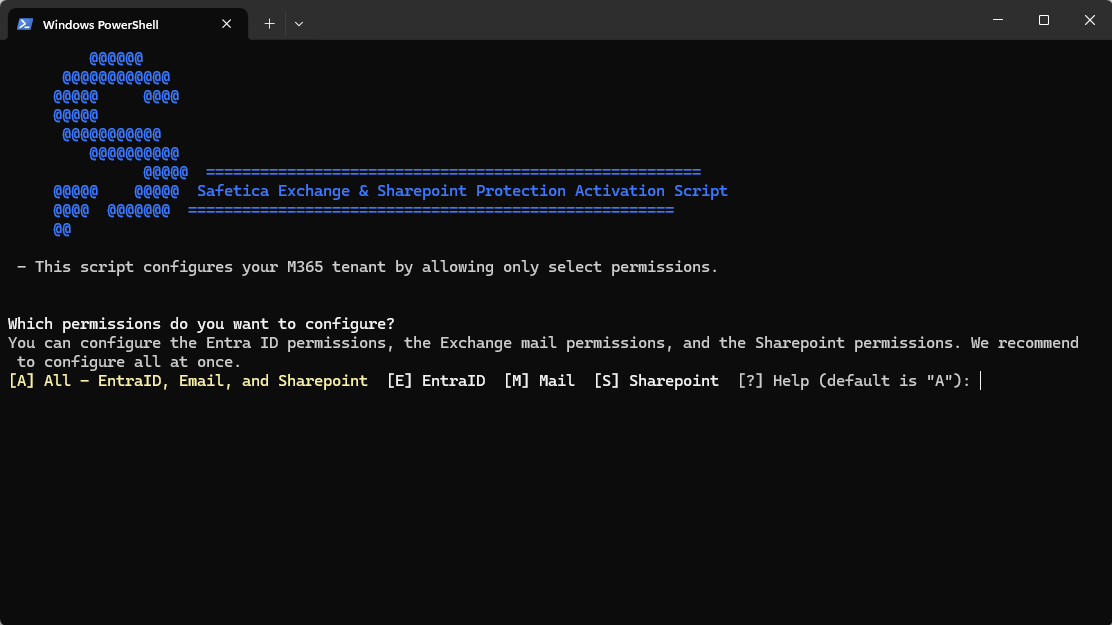
- Download and run this configuration script in PowerShell.
- To run the script correctly, you need to have installed Azure CLI.
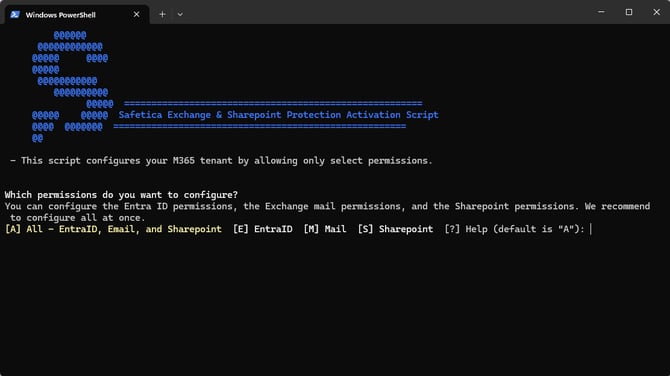
- To enable permissions for Microsoft SharePoint protection, press S.
- Once permissions are granted, retry the deactivation process.
Read next
SharePoint protection: How to protect file sharing
Outlook protection: How to activate and deactivate it
Outlook protection: Block (with override) in Outlook