Information in this article applies to Safetica ONE 10 or older.
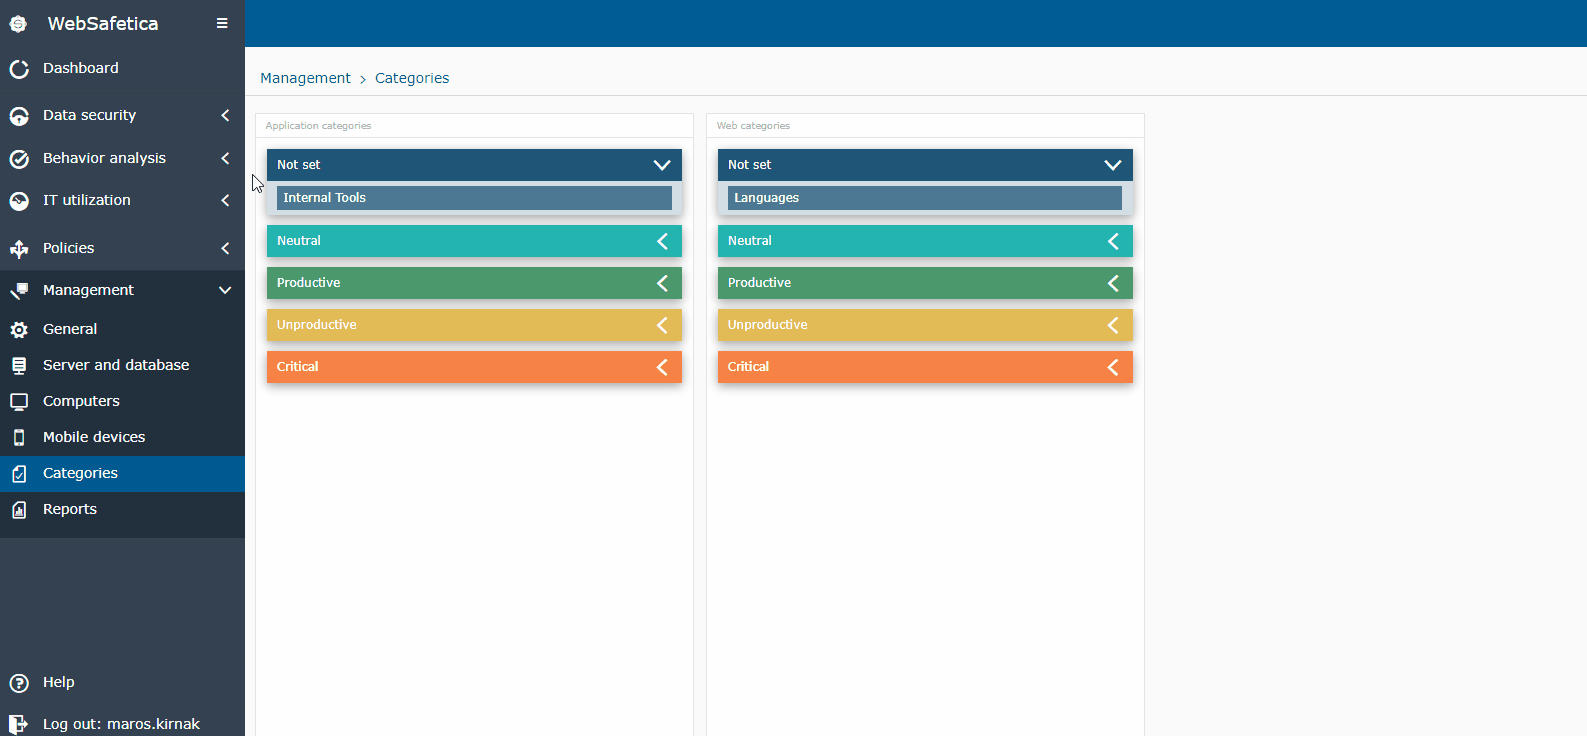
Safetica features an out-of-the-box database of the most commonly used applications and websites divided into pre-defined categories. These categories are fully customizable, so you can create new personalized categories for applications and websites, change the existing categories and also divide categories by productivity.
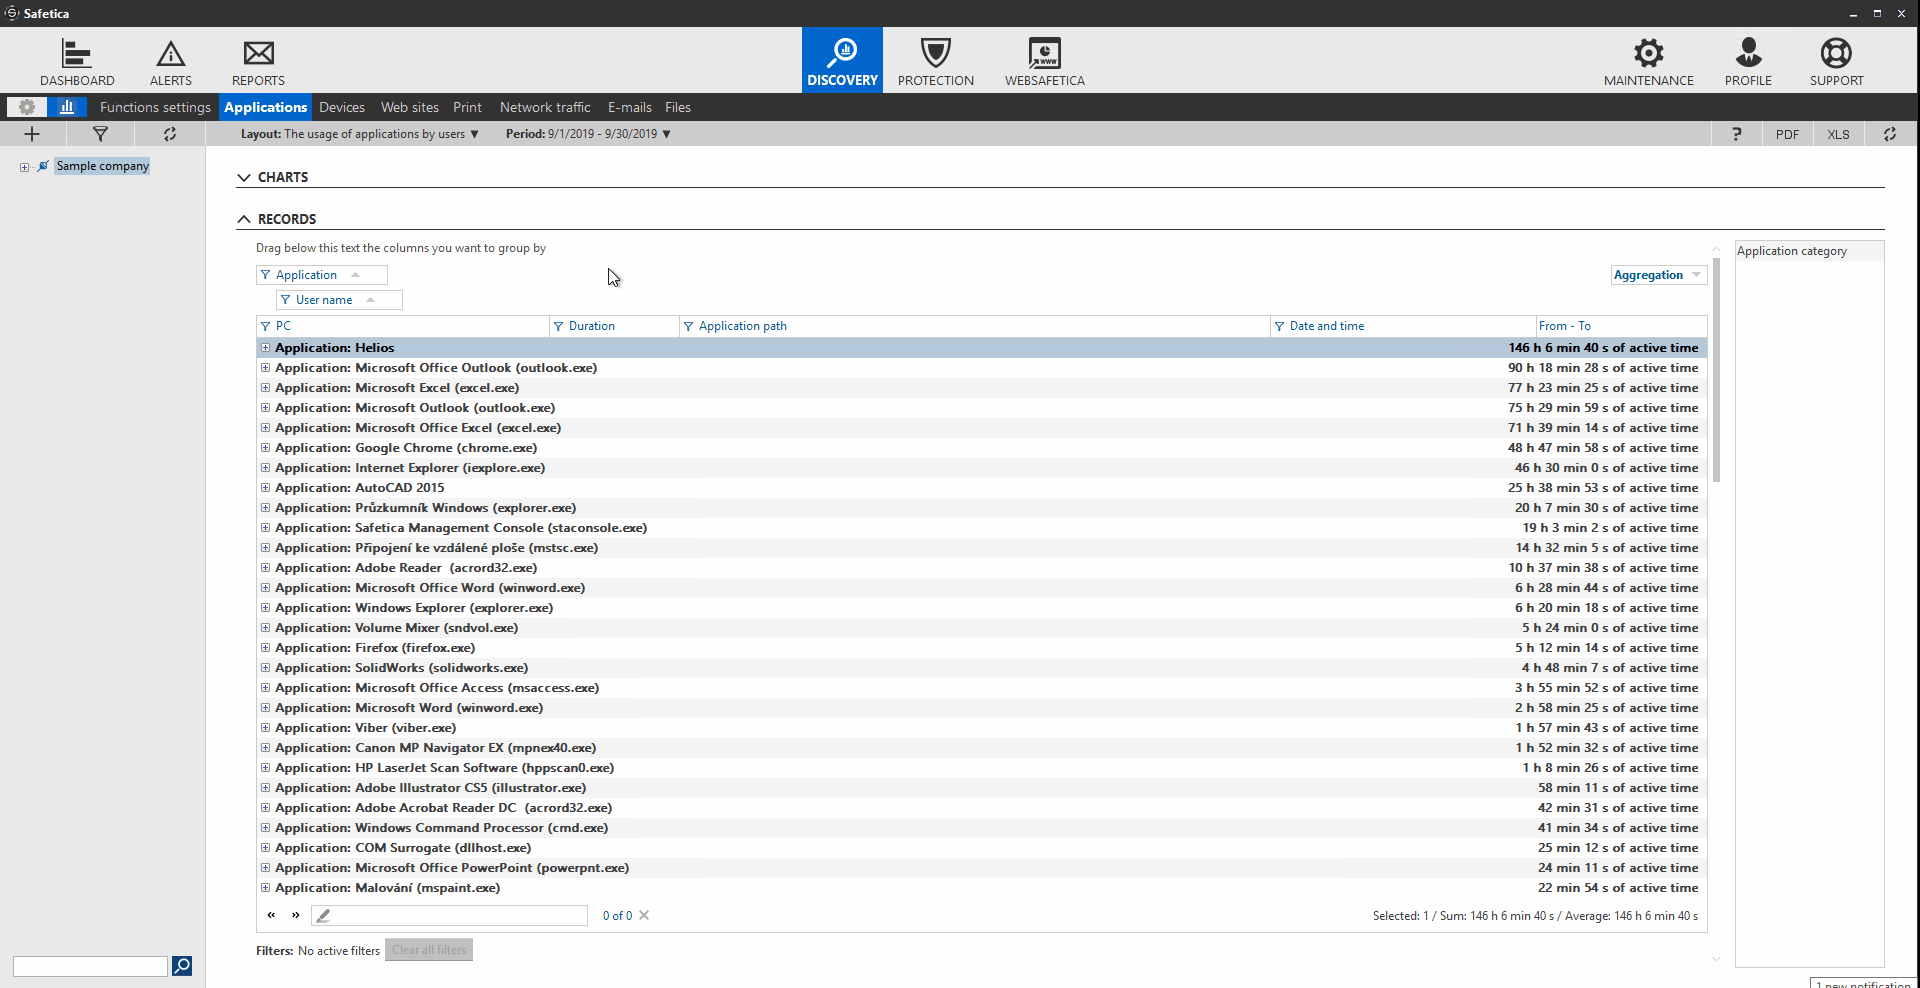
Categorization of applications and websites in Safetica is easy. To categorize applications:
- Open Safetica Management Console.
- Go to Discovery > Applications.
- Choose the Applications categorization layout.
- Choose the required date range.
- In the Records table, click the Unknown category link and select the correct category.
To categorize websites:
- Open Safetica Management Console.
- Go to Discovery > Web sites.
- Choose the Webs categorization layout.
- Choose the required date range.
- In the Records table, click the Unknown category link and select the correct category.
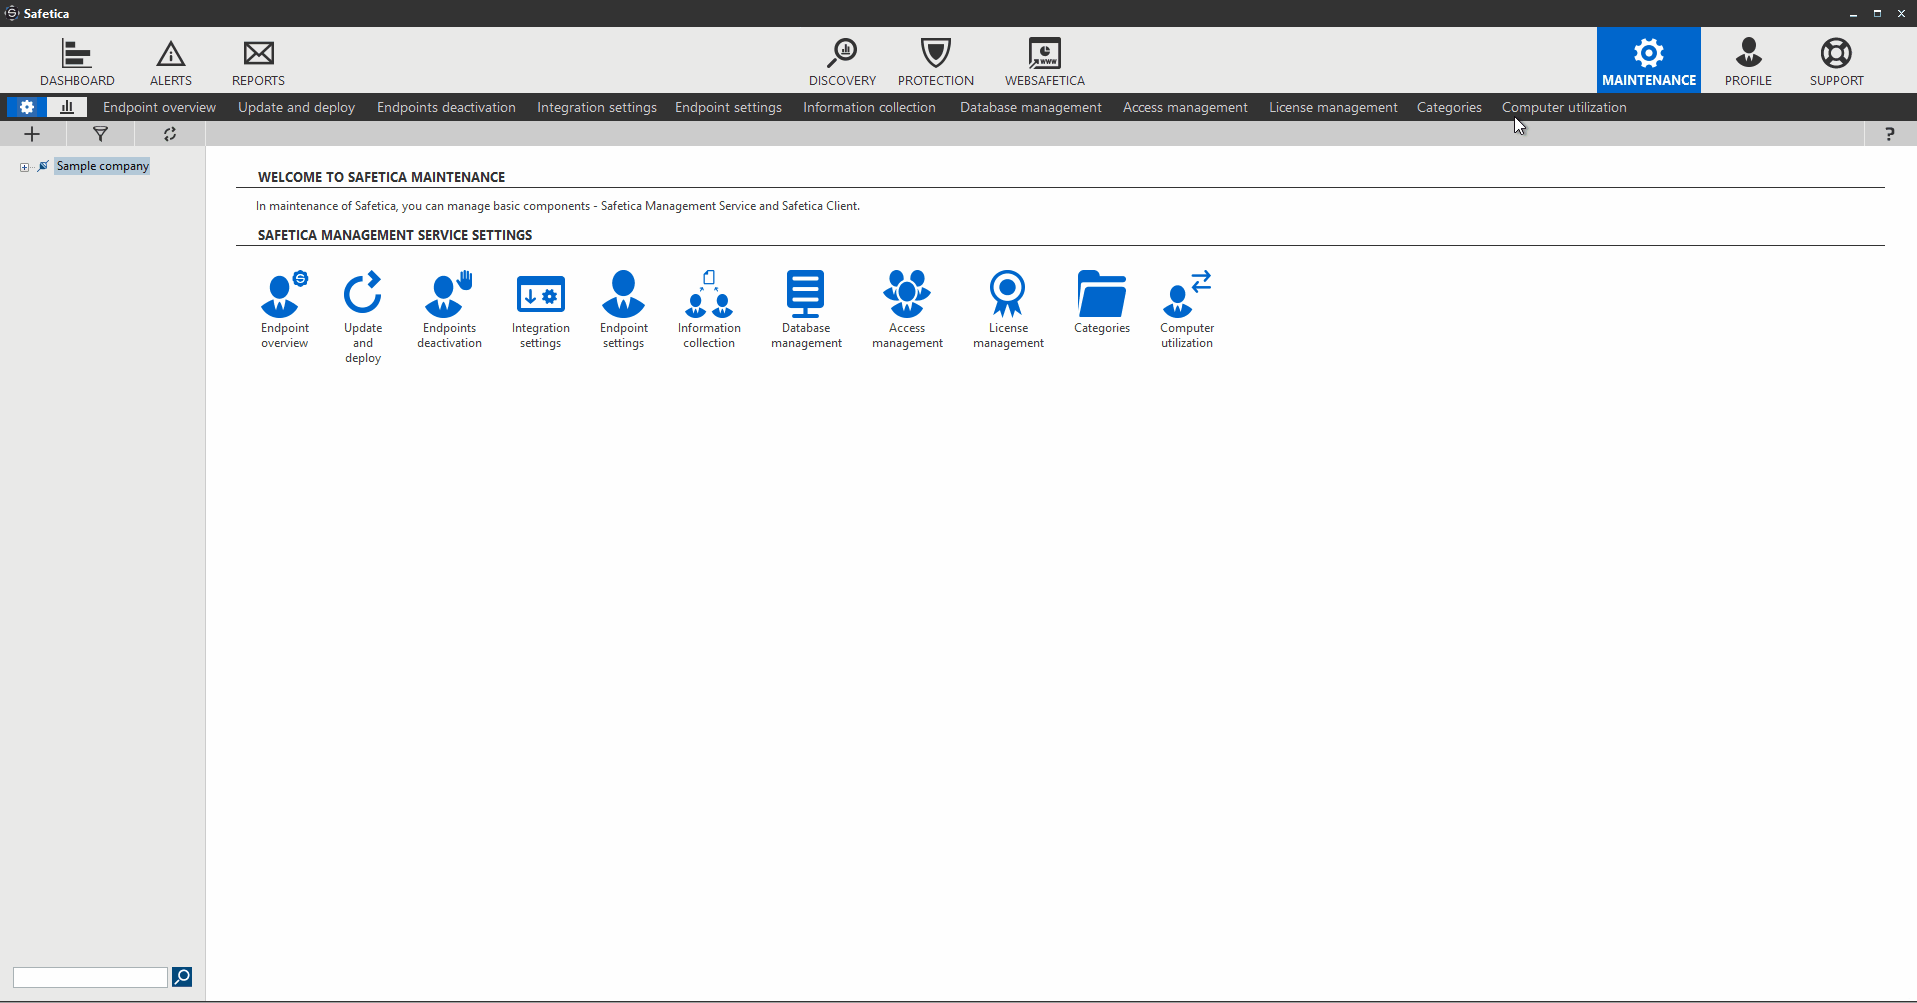
You can also create personalized categories:
- Open Safetica Management Console.
- Go to Maintenance > Categories.
- Select Application categories or Web categories.
- Click Browse database.
- Click Add category and fill in the name of the new category (e.g. Internal tools).
- Click OK to confirm.
For both application and website categories, Safetica allows you to determine whether they are productive, unproductive, neutral, or critical. Based on this division, WebSafetica calculates productivity in its charts and reports.
This setting can be adjusted directly in WebSafetica in Management > Categories: