Introduction
We understand that some customers prefer to explore and test Safetica independently after they receive a trial from Safetica or Safetica partner for various reasons - to fit internal timelines, evaluate specific scenarios, or simply learn hands-on.
This article will help you run an effective self-managed trial: install Safetica to a representative group of users, collect meaningful data, and evaluate results against clear objectives so you can decide confidently whether Safetica fits your needs.
Follow these four steps to make your trial smooth, focused, and successful: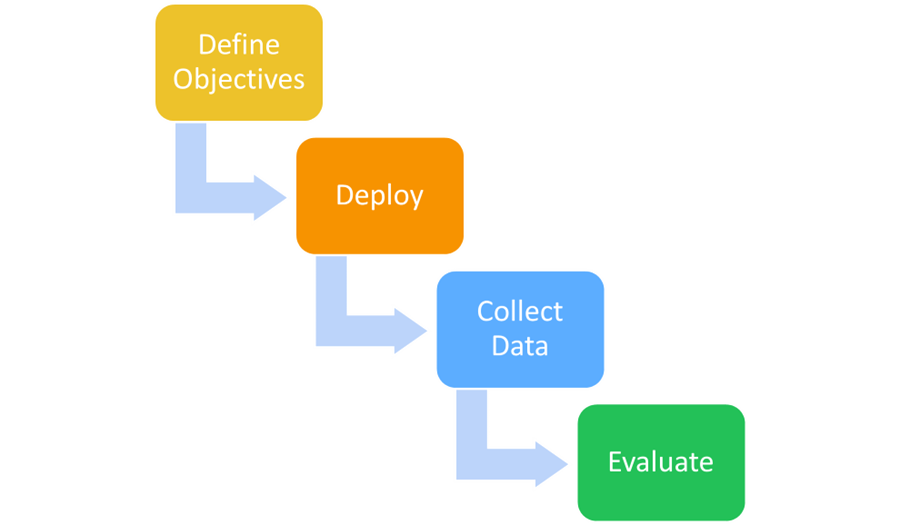
✍️Don’t have a Safetica trial yet? Contact a Safetica partner.
How to run a successful self-managed trial
Step 1: Define objectives and success criteria
Start by deciding what you want to learn and how you will judge success. Consider these questions:
- What are your main obejctives for the trial?
- Do you want to understand how users handle sensitive data in your environment?
- Which resources or tools do users rely on daily?
- Which DLP scenarios do you want to test or discuss with our experts?
✍️Get the most out of your Safetica trial period
Even in a self-managed trial, it is useful to contact the Safetica team - especially if you have specific scenarios to test or want help validating your setup.

Step 2: Install Safetica to a representative sample
Install Safetica Client to a small, representative group first. This gives you meaningful results without disrupting the entire company.
-
Review the system requirements for devices.
-
Install Safetica Client on 5–10% of company devices across heterogeneous user groups (e.g., different departments and roles) to get a representative sample of activity and behavior during the trial.
-
Install in waves to ensure a smooth rollout and minimize potential disruption.
-
Set up exceptions in other security software in your company to avoid potential conflicts with Safetica.
-
If applicable in your environment, activate Safetica Cloud Protection to maximize Safetica’s capabilities.
Step 3: Collect data and optimize configuration
Let Safetica collect enough activity data to reveal real behavior patterns. Optimize configuration (data classifications, destinations, and policies) so that it matches your trial objectives.
- Explore our templates.
- Set up basic data classifications.
- Define safe & untrusted data destinations.
- Set up basic policies.
- Optionally, add alerts and reports.
✍️Plan 2–4 weeks for Safetica to collect data.
For meaningful results, postpone evaluation until enough data is available to show consistent data movement patterns, user behavior, and trends.
Step 4: Evaluate results
Use collected evidence to validate your objectives and identify data movement and risks. Find specific configuration recommendations from the Security Audit Report.
- In Safetica console, create the Security Audit Report to get:
- A comprehensive summary of findings
- Safetica recommendations to enhance your security configuration
- Review the results against your objectives. Here are some ideas for your focus on:
- Sense of volume: How much data is leaving your company in practice?
- Dataflow overview: What are the most common ways data leaves your company? What are the most surprising destinations?
- Insights into sensitive data: Where is your data stored? What types of data and sensitive information leave your company? Who sends it and where?
- First risks detections: Events worth investigating that could indicate risks in data flow and user activity.
- Remote work: How do users use company resources?
- Tailored recommendations: Recommendations for Safetica configuration to improve your company’s protection and secure processes.
End of trial: next steps
You’ve done the discovery - now let’s make it count.
After you complete discovery and evaluation, let’s review your trial findings together and turn them into real improvements for your data protection.
Review your trial insights together with:
FAQ
Q: What is a self-managed trial?
A: A self-managed Safetica trial is a trial where customers explore and evaluate Safetica primarily on their own, without ongoing guided sessions from a Safetica partner.
Q: How do I get a Safetica trial version?
A: To get a Safetica trial version, contact a Safetica partner.
Q: How long should I perform the self-managed trial?
A: Plan 2–4 weeks to allow Safetica to collect enough data before you evaluate the results.
Q: Can I still get expert input during a self-managed trial?
A: Yes. You can contact the Safetica team anytime, especially if you have specific scenarios to test or discuss.