Introduction
If you are experiencing issues related to applications or websites on a device with installed Safetica Client, deactivating the client can help determine whether Safetica is the source of the problem before contacting Safetica Support.
How to deactivate Safetica Client
- Go to the Devices section in Safetica console.
- You can deactivate the Safetica Client:
-
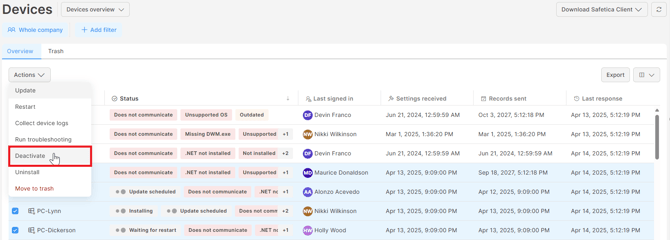
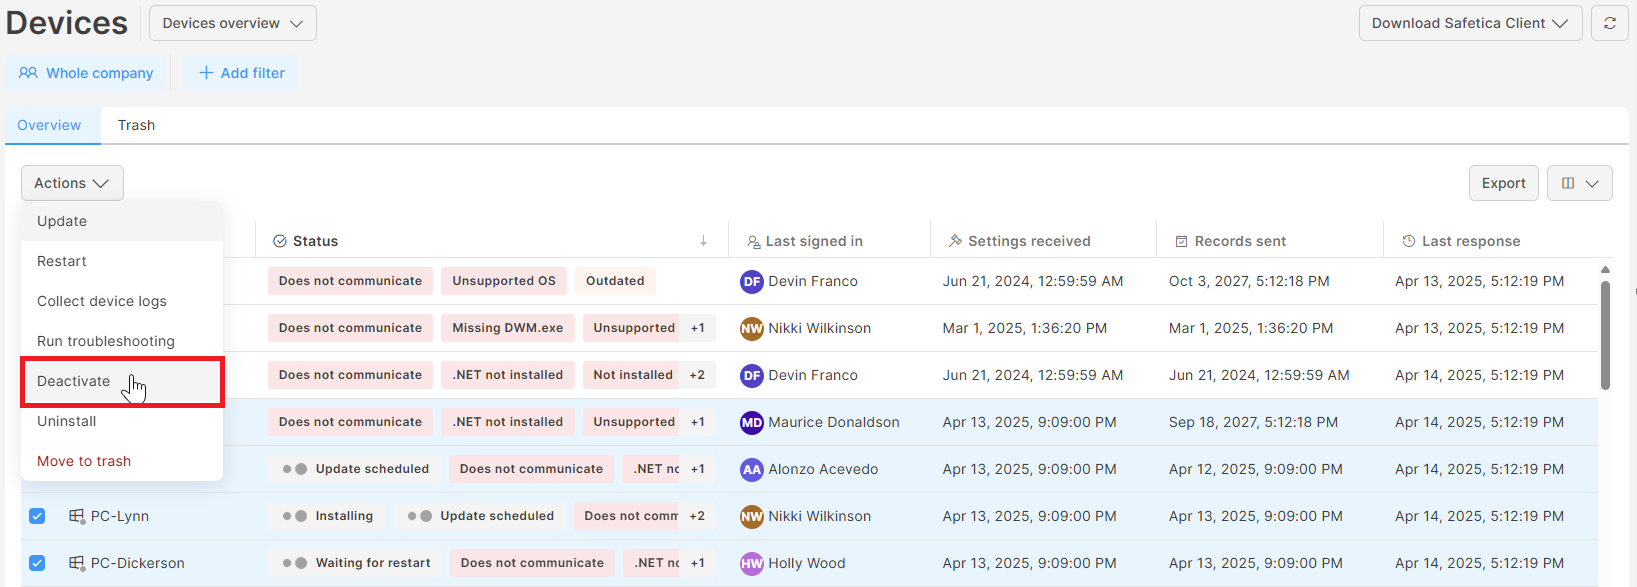
- On multiple devices at once:
-
-
- Select the problematic devices and click the Actions button that appears.
- Click Deactivate in the drop-down menu.
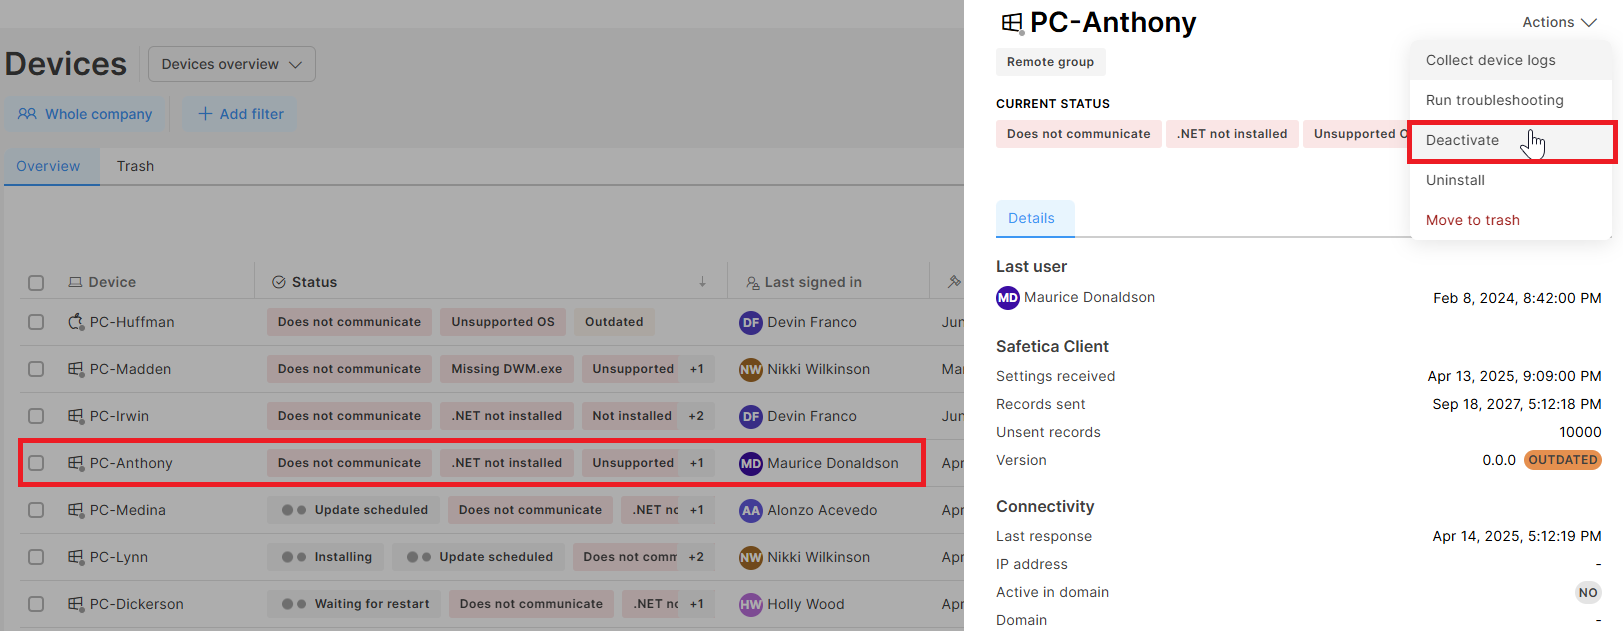
- On one specific device:
- Click the problematic device to open its detail.
- Click Actions > Deactivate.

-
❗You cannot deactivate Safetica Client on devices in the following states:
Not installed, Installing, Updating, Uninstalling, Deactivating, Deactivated unexpectedly, or Deactivated.
3. Restart the device.
4. Check if the issue persists:
-
- If the issue is still present after Safetica Client deactivation:
The problem is likely not caused by Safetica. Check other applications installed on the device. - If the issue is resolved after Safetica Client deactivation:
Continue to collect logs via Safetica console.
- If the issue is still present after Safetica Client deactivation:
✍️Safetica On-Prem: There are more troubleshooting options available in Safetica Maintenance Console. Read this article and perform the steps listed there.
How to activate Safetica Client again
✍️Do not forget to activate Safetica Client on the devices where you deactivated it.
To activate Safetica Client:
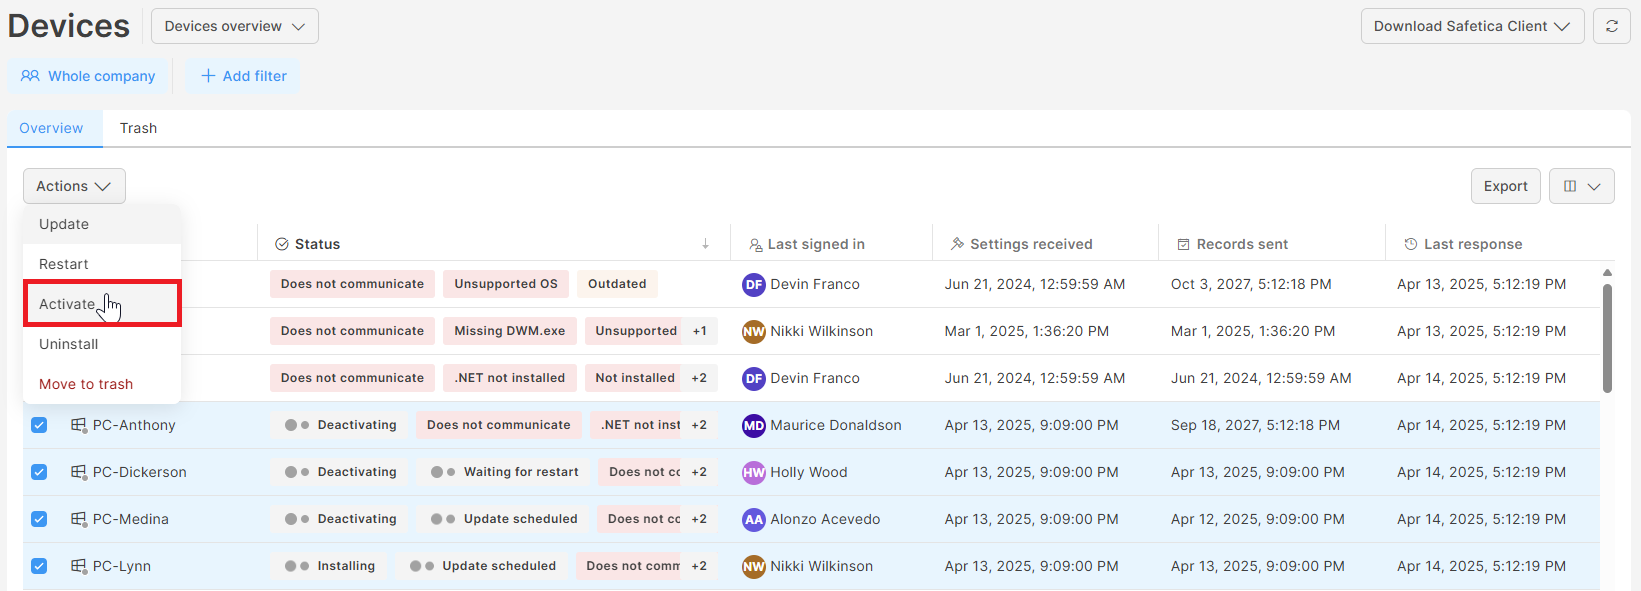
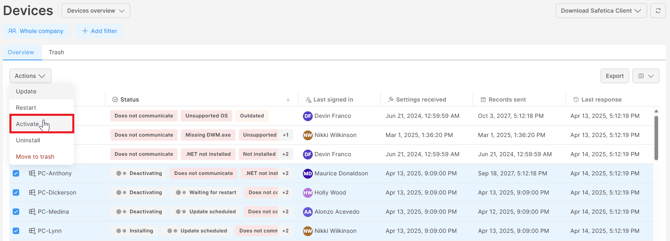
- On multiple devices at once:
- Select the devices and click the Actions button that appears.
- Click Activate in the drop-down menu.
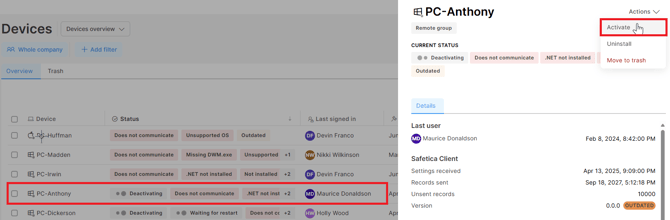
- On one specific device:
- Click the device to open its detail.
- Click Actions > Activate.