In this article, you will learn more about:
- Introduction
- How to activate Exchange protection in Safetica console
- How to configure mail flow in Microsoft Exchange admin center
- How to configure policies for Exchange protection
- How to deactivate Exchange protection
Introduction
✍️Learn more about our Exchange protection here.
Before you can activate Exchange protection, you must connect your Microsoft 365 tenant to Safetica.
How to activate Exchange protection in Safetica console
✍️Exchange protection currently supports auditing of sent emails only.
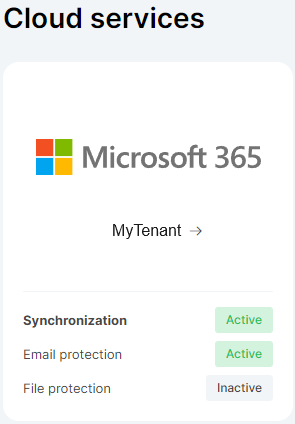
1. In Safetica console, go to Cloud services, and click your Microsoft 365 tenant.
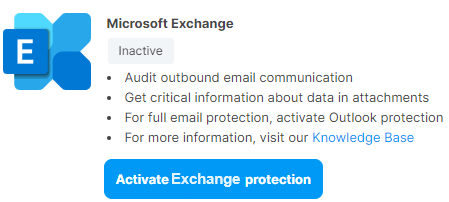
2. Click the Activate Exchange protection button.
3. You will be shown a list of steps you must perform in your Exchange Online to enable Exchange protection.
4. Check the box and click Finish. Then proceed to Microsoft Exchange admin center.
❗Completing the configuration in the Microsoft Exchange admin center is a crucial prerequisite for the correct operation of this feature.
How to configure mail flow in Microsoft Exchange admin center
You can configure the mail flow rule either:
A. Automatically via our configuration script (recommended) or
B. Manually in Microsoft Exchange admin center.
A. Configure the mail flow rule automatically via configuration script
Prerequisites
- Required role: Microsoft Exchange Admin (minimum requirement)
Steps to run the script
- Download the configuration script.
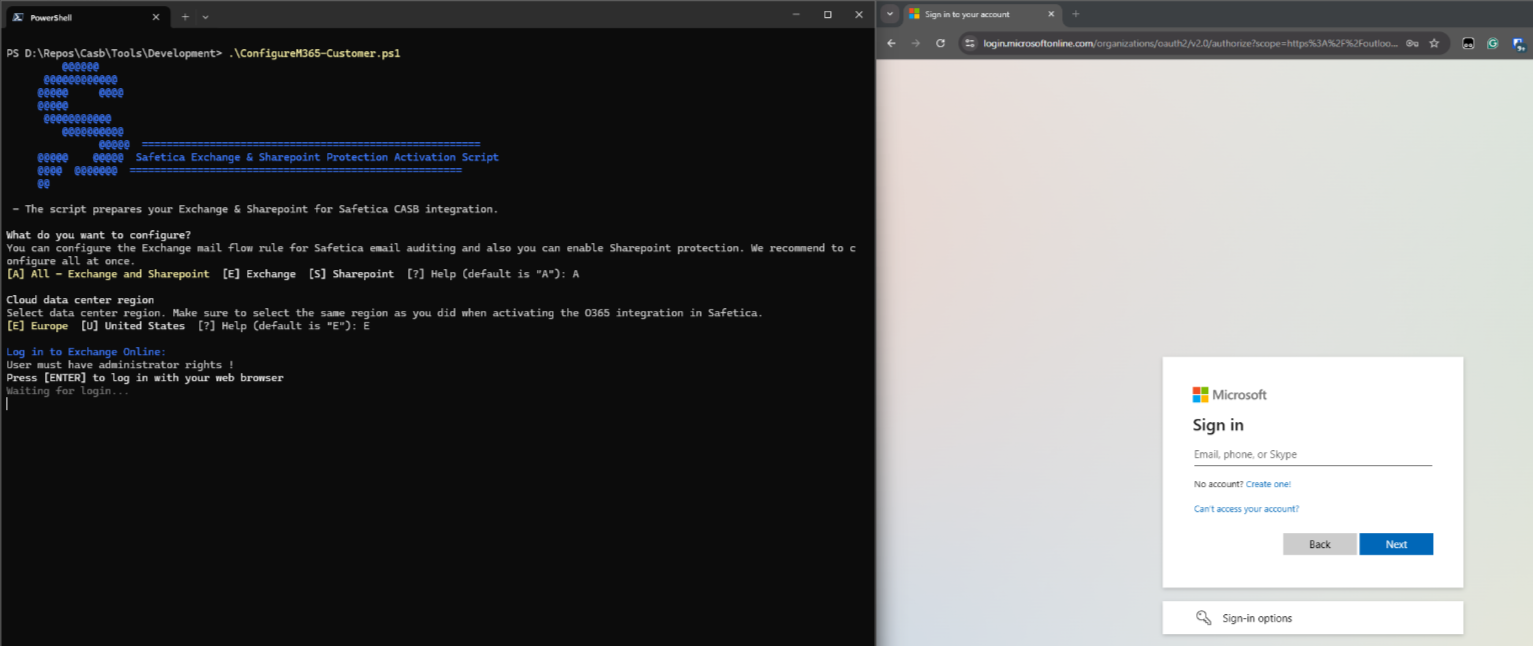
- Right-click the script and select Run with PowerShell.

- When the script runs, you will be prompted to sign in with your Microsoft credentials. Enter your Microsoft Exchange Admin credentials.

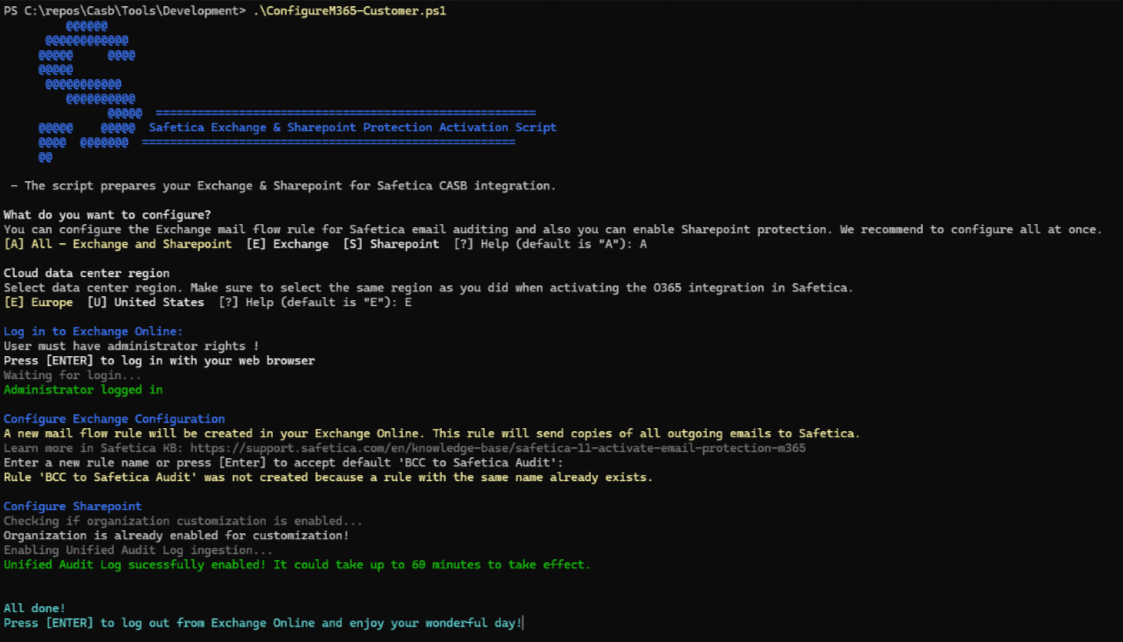
- After the script successfully finishes, you will see a success message in the PowerShell window.


After running the script
- Information about sent emails should become available in Safetica within a few minutes.
- Allow up to 72 hours for the mail flow rules to appear in the Microsoft Exchange admin center.
B. Configure the mail flow rule manually in Microsoft Exchange admin center
1. In Microsoft Exchange admin center, click Mail Flow in the navigation panel on the left.
2. Then click Rules > Add a rule > Create a new rule.
3. Choose an appropriate name for this rule (e.g. Safetica Cloud Protection).
4. In Apply this rule if... choose The sender is external/internal and Inside the organization.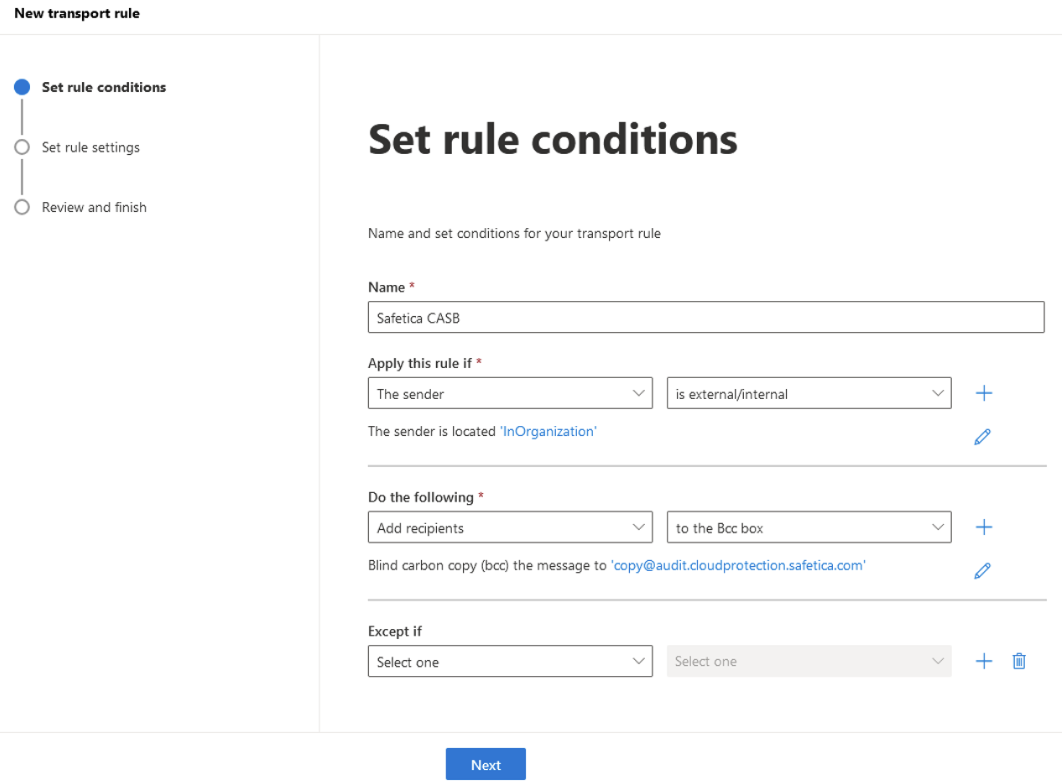
5. In Do the following select Add recipients to the Bcc box and enter an address based on the data center selected in Safetica console while adding your M365 tenant:
- For an EU data center (or if no data center was displayed): copy@audit.cloudprotection.safetica.com
- For a US data center: copy@audit.us.cloudprotection.safetica.com
❗We recommend sending emails to Safetica Cloud Protection directly from Exchange Online. Routing messages through a third-party tool such as an email gateway before they reach our cloud can interfere with processing, so the direct path is the simplest and most reliable setup.
If your environment requires an email gateway, please contact Safetica Support, and we'll try to help you set it up.
6. In the next step of the wizard (Set rule settings), select Match sender address in message envelope.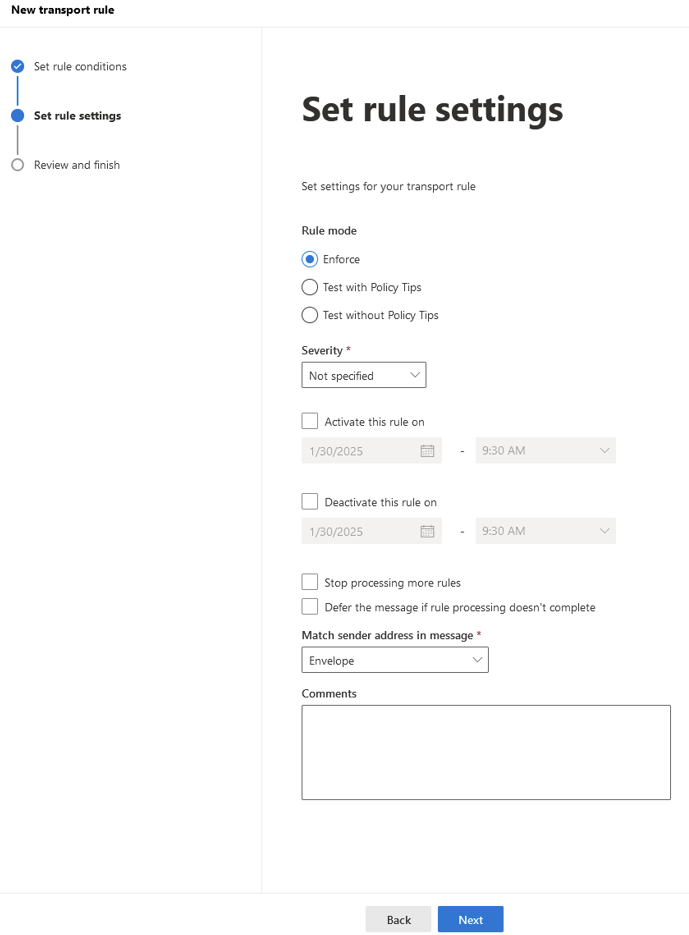
7. Review and save the rule. We recommend you place your new rule at the top of the rule list.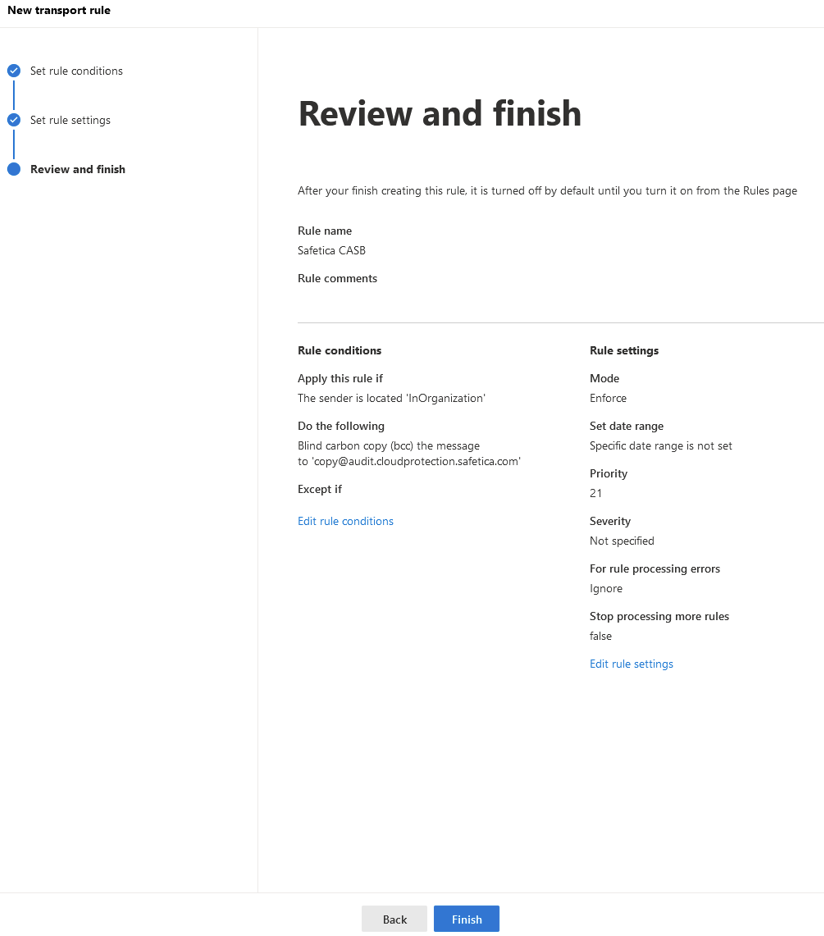
✍️Make sure to set the status of the mail flow rule to Active. By default, all new rules are created as Inactive.
8. Once you successfully complete these steps, all information about sent emails should become available in Safetica within a few minutes.
How to configure policies for Exchange protection
After you finish the activation in Microsoft Exchange admin center, policies configured for the Email destination type will start applying to emails sent by users in your Microsoft 365 tenant.
How to deactivate Exchange protection
You must deactivate Exchange protection in the following order:
- First, deactivate the mail flow rule you previously created. Open Microsoft Exchange admin center and set the status of the mail flow rule to Disabled.
- Open Safetica console, go to Cloud services > your M365 tenant, and deactivate Exchange protection.
❗Always start with deactivating the mail flow rule before proceeding with deactivation in Safetica console.
FAQ
Q: Can we apply blocking policies to mobile devices if emails are routed through Exchange Online?
A: No, because Outlook protection / Outlook add-in is not supported on mobile devices. You can only audit operations based on Exchange protection.
Read next
Outlook protection: How to activate and deactivate it
Outlook protection: Block (with override) in Outlook
SharePoint protection: How to activate and deactivate it