In this article, you will learn:
- Introduction: Why to add your Microsoft 365 tenant
- How to add your Microsoft 365 tenant
- More about synchronized users, security groups, and MIP labels
Introduction: Why to add your Microsoft 365 tenant
By adding your Microsoft 365 tenant to Safetica, you will:
- Connect to your company's cloud environment.
- Synchronize your Entra ID and its:
- users (accounts)
- security groups
- MIP labels
- Extend the scope of DLP protection from devices to the cloud.
- Get access to Exchange and Outlook protection, so that you can audit and actively protect emails sent by your Microsoft 365 users.
- Get access to SharePoint protection, so that you can audit and protect files in SharePoint, OneDrive for business, and Teams (ability to control file sharing via policies).
❗If you have the Safetica Essentials license, only your Entra ID structure (users and security groups) will be synchronized. To enable all the other features (audit and protection in the cloud), you must purchase the Safetica Pro license.
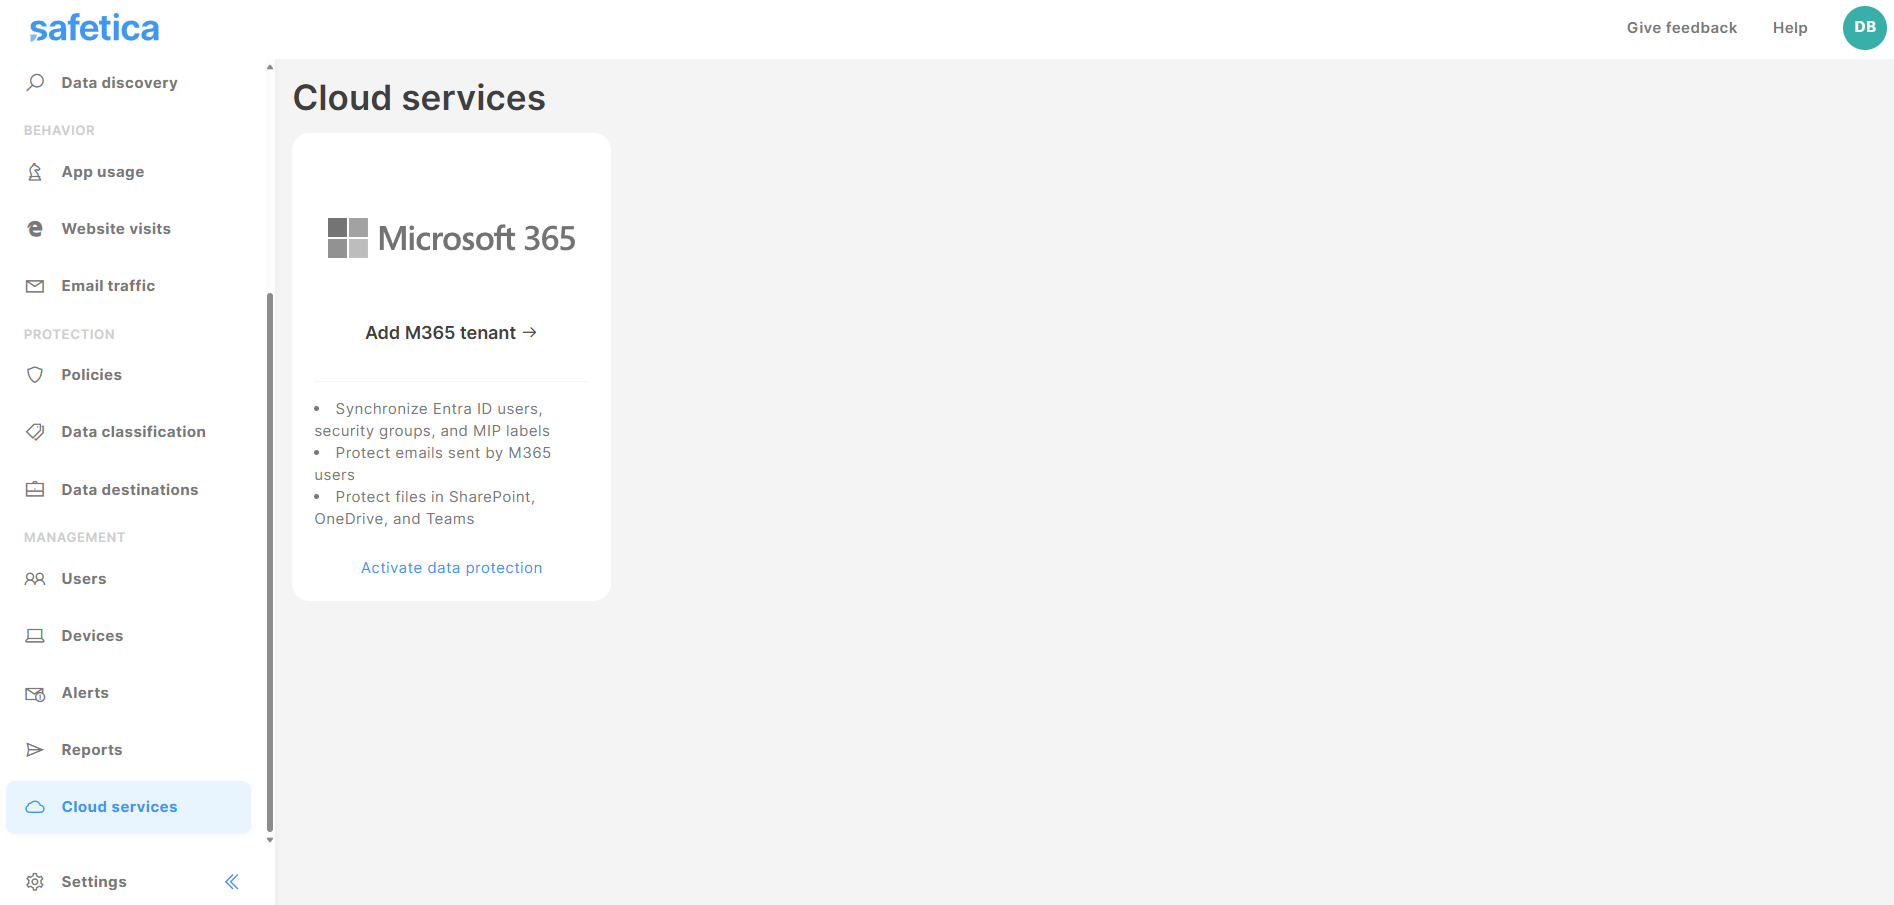
How to add your Microsoft 365 tenant
In Safetica console, go to Cloud services, and click the Add M365 tenant tile.
1. Choose a region
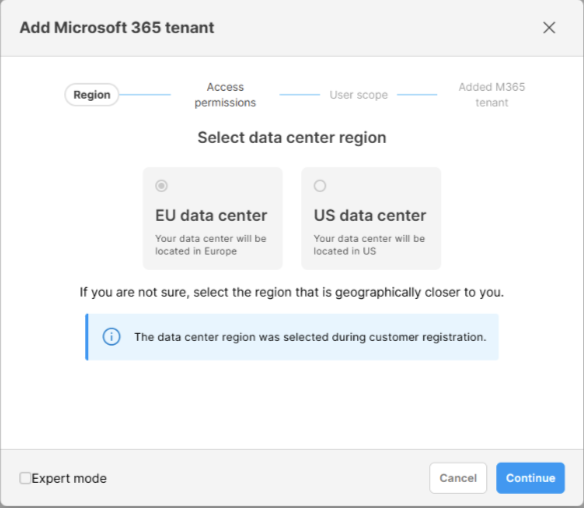
Cloud-hosted Safetica: The region where your data is processed was pre-selected during customer registration. You cannot change it here.
Safetica hosted on-premises: Select the region where your data should be processed: Europe or the United States. If unsure, select the region geographically closer to you.
❗Once selected, the data center region can't be changed. To change it later, you must remove the tenant (including all add-ins) and add it again.
Data center locations:
| Region | Primary | Safetica Cloud protection backup |
| Europe | West Europe | North Europe |
| United States | West US 2 (Washington state) | Central US (Iowa) |
Learn more about data centers.
2. Grant access permissions
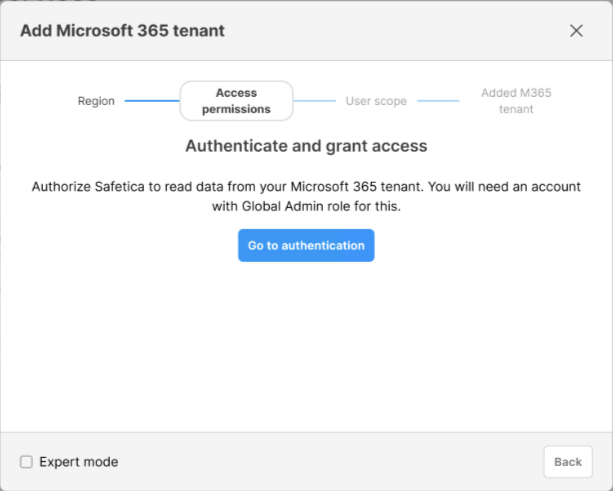
Click Go to authentication and sign in with a Microsoft Global Admin account. Safetica will detect the tenant based on this account.
Safetica will request the following permissions:
- User.Read.All – read full user profiles, download the user list from Entra ID, and show user names in Safetica console.
- ActivityFeed.Read – read activity data for your organization, download records originating in Microsoft OneDrive and SharePoint.
- Files.ReadWrite.All – download files that are shared for DLP evaluation and cancel sharing operations that violate policies.
-
Group.Read.All – assign cloud users to teams based on Entra ID groups.
-
InformationProtectionPolicy.Read.All – import MIP labels as data classifications.
- SensitivityLabels.Read.All - import MIP labels as data classifications.
❗Expert mode: Custom permissions
This option requires more maintenance on the customer side.
If you cannot or do not want to grant full access permissions to Safetica, you can customize them. This can be useful, for example, for customers who only have Entra ID but not Microsoft 365. Use the Expert mode:
1. Check the Expert mode checkbox.
2. Check Manage access permissions manually (not recommended) and click Go to authentication.
3. Download and run this configuration script in PowerShell
❗To run the script correctly, you need to have installed Azure CLI.
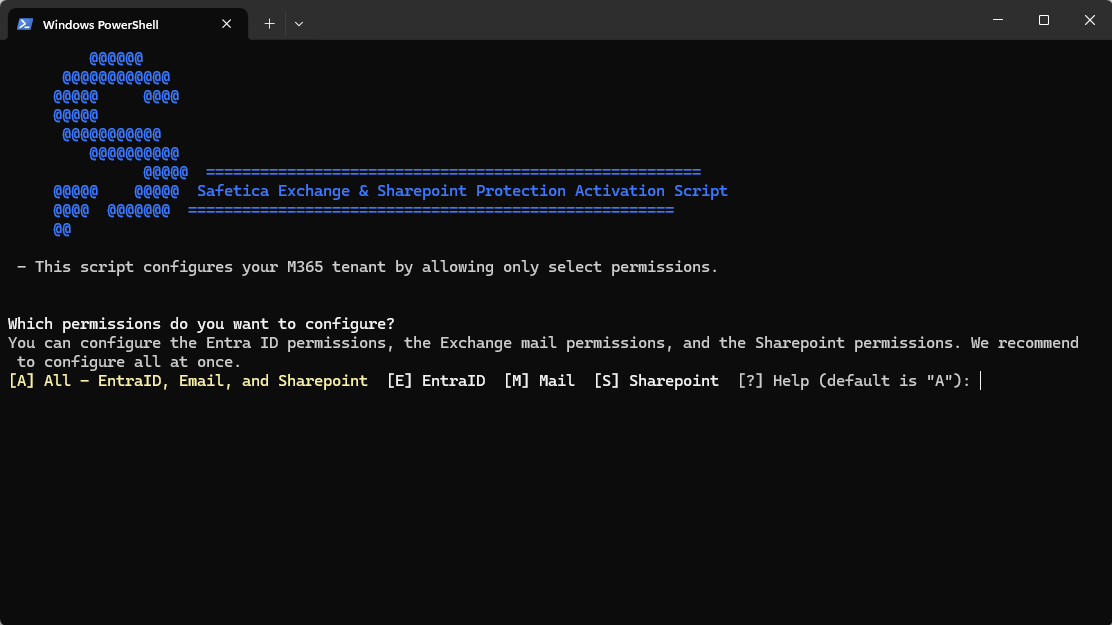
4. Choose which features to enable:
- Press E – sync users, security groups, and MIP labels.
- Press M – enable permissions for Microsoft Exchange protection.
- Press S – enable permissions for Microsoft SharePoint protection.
3. Select user scope
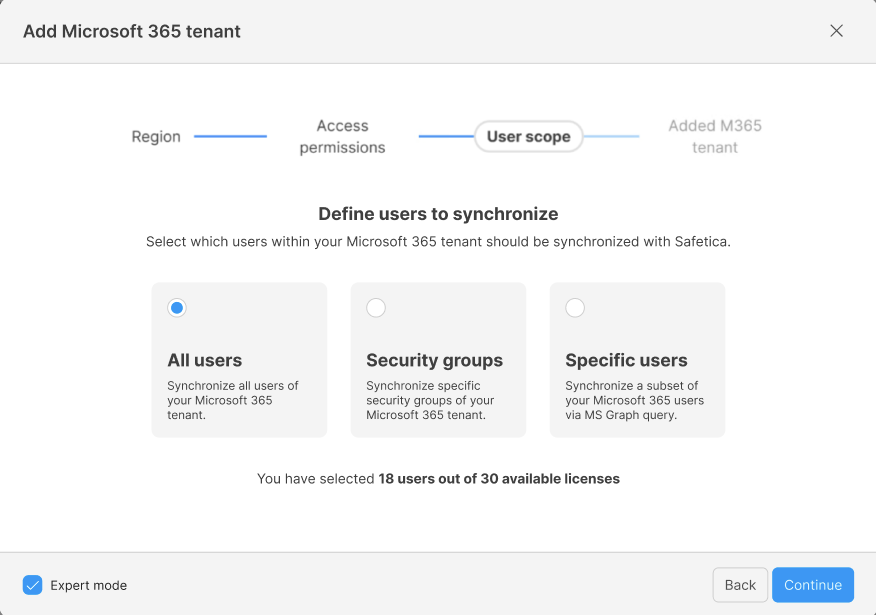
Choose how you want to sync users from your M365 tenant:
- All users – sync all users from your Entra ID.
- Security groups – search for, select, and sync only specific security groups from your Entra ID. You can change synchronized security groups later in tenant detail.
✍️Security group selection works alongside any existing MS Graph subset query (see the point below), helping to fine-tune synchronization without overriding the MS Graph query settings.
- ❗Expert mode: Specific users – use the Expert mode to sync a specific subset of your Entra ID users via an MS Graph Query. Learn more here.
You can always see in real time how many new users will be synchronized.
If the number of synced users exceeds available licenses by more than 3x times, you must either reduce their number or remove licenses from some licensed users. Learn how to remove licenses.
4. M365 tenant successfully added
The last step is informative. At this point, you have:
- Added your Microsoft 365 tenant to Safetica
- Synchronized its users, security groups, and MIP labels.
❗No protection features were activated yet.
5. After the tenant is added
You can click its tile to view its details:
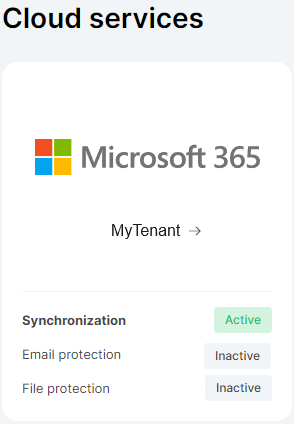
In tenant details, you can see: the tenant name, its data center region, when it was added, or whether Entra ID synchronization is active. You can also see info about synchronized security groups and users.

✍️Next steps: Activate protection features
Follow the steps in these articles to activate specific protections:
6. How to change synchronized security groups later
You can change synchronized security groups in the tenant detail by clicking Select security groups.

✍️The security group selection works alongside any existing MS Graph query filter, helping to fine-tune synchronization without overriding MS Graph query settings.
If you are using an MS Graph query to define a user subset (see here), only security groups containing users from that subset will be available for selection.
E.g., if the MS Graph query specifies that only users with names starting with “A” can be added, only security groups containing such users will be displayed in the selection.
More about synchronized users, security groups, and MIP labels
✍️After your Microsoft 365 tenant is added, the syncing of users takes about 5-10 minutes.
Synchronized users and security groups will be visible under the Cloud protection team in the user tree and in the Users section. They are synced every 4 minutes. Learn more about synchronized users and teams here.
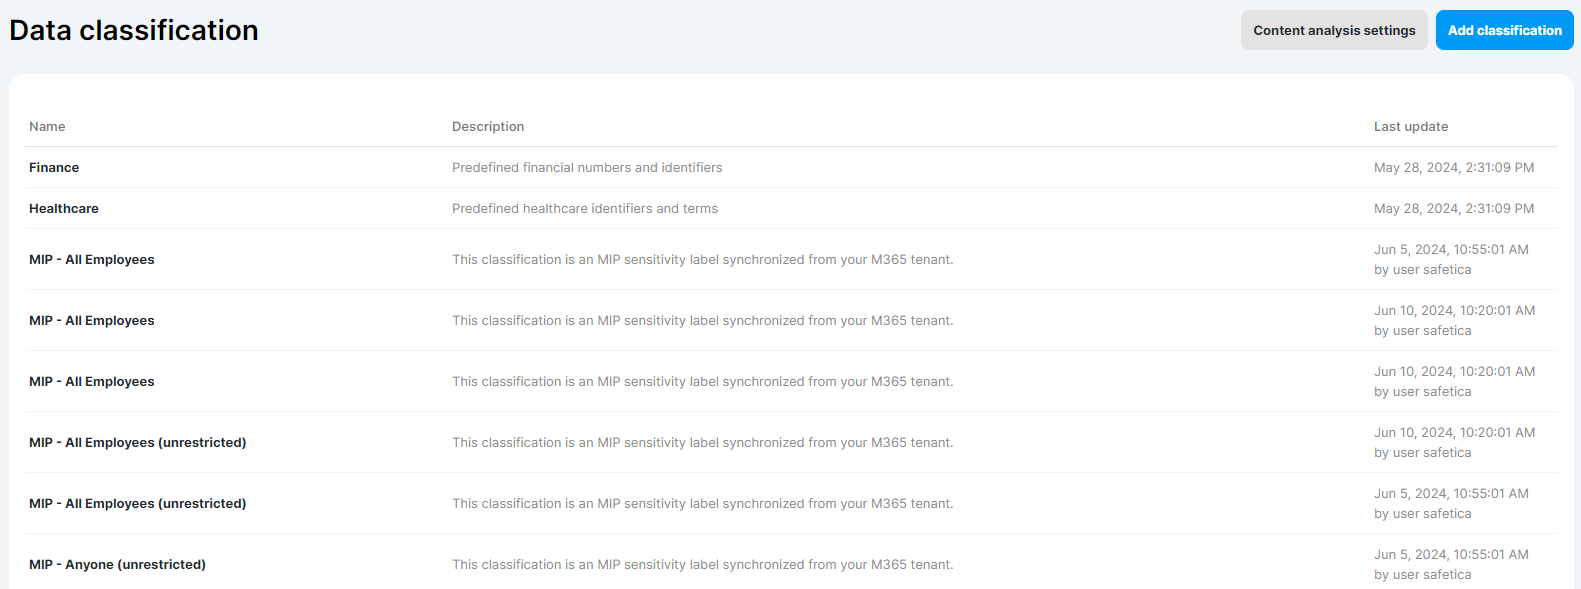
Synchronized MIP labels can be found in the Data classification section. They are detected as 3rd party classifications, and you can recognize them by their MIP prefix. MIP labels are synchronized every day (labels that are not active in the tenant are synced into Safetica console as disabled). You can edit them as needed, and they are kept in the list of data classifications even if they are deleted in the tenant.
FAQ
Q: Can I add multiple M365 tenants?
A: No, for now, it is not posible to add more than one Microsoft 365 tenant.
Q: Is the password stored somewhere when synchronizing M365?
Read next
Introducing Safetica Cloud Protection
How to synchronize a subset of Microsoft 365 users
Activating and deactivating Microsoft Outlook protection
Activating and deactivating Microsoft Exchange protection
Activating and deactivating Microsoft SharePoint protection