In this article, you will learn more about:
- Introduction
- What will the user see when their email is blocked by a block (with override) policy in Outlook
- What must the user do to send an email blocked by a block (with override) policy
Introduction
✍️To use this feature, you must first activate Outlook protection. Learn more here.
When you select the Block (with override) action in a data policy, certain users will be able to override applied restrictions and provide explanations for their actions.
Block (with override) is useful in companies where admins trust the users to only override blocking policies for legitimate reasons (for example, when a user needs to send a classified file to a customer, if sensitive content is incorrectly detected in an ordinary file, etc).
You can learn more about Block (with override) here. In this article, we describe what the end user will see and what they can do when their email is blocked by a block (with override) policy in Outlook.
What will the user see when their email is blocked by a block (with override) policy in Outlook
When an email violates a block (with override) policy, the Outlook protection prevents the user from sending the email, but gives them the option and instructions to override the blocking:
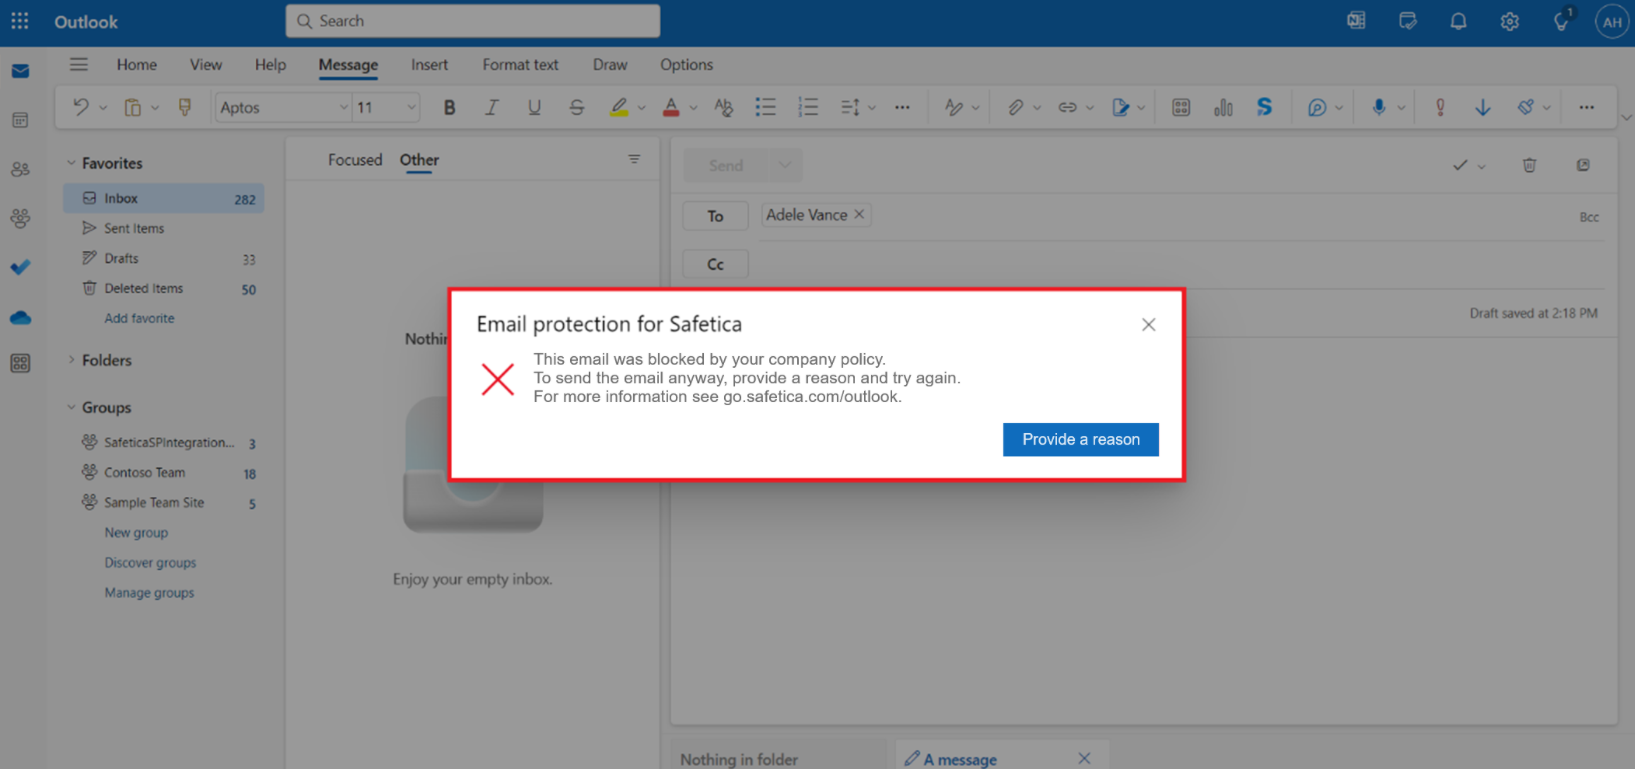
The user must click Provide a reason. Then they can choose to either:
- Not send the email at all.
- Override the blocking and re-send the email.
What must the user do to send an email blocked by a block (with override) policy
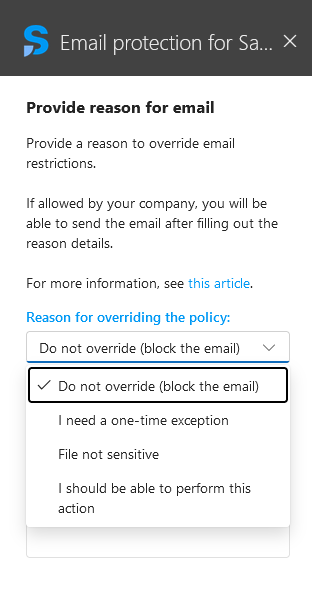
If an email is blocked by a block (with override) policy, the user must enter their reason for sending the email:
- After clicking the Provide a reason button in the dialog window, a pane on the right will open.
- Select a reason for overriding the policy from a drop-down menu (for example “I need a one-time exception”).
- Provide a more detailed description for sending the email (optional).
- Click Send again. Now, with the reason entered, the email should be sent without being blocked.
✍️Both the reason and the optional description are recorded for possible investigation by the admin in Safetica console.
The reason and description are auto-saved as the user writes. They can even close the pane or the email. The reason and description will be saved until the email is successfully sent.
Read next
Introducing Safetica Cloud Protection
Outlook protection: How to activate and deactivate it
Exchange protection: How to activate and deactivate it